1/16/2013

Ice Cream Machine

It's finally here!  I've been wanting to buy an electric ice cream machine for the longest but I had my birthday and Christmas coming up, and my mom kept telling me not to buy any more crap until after the holidays.


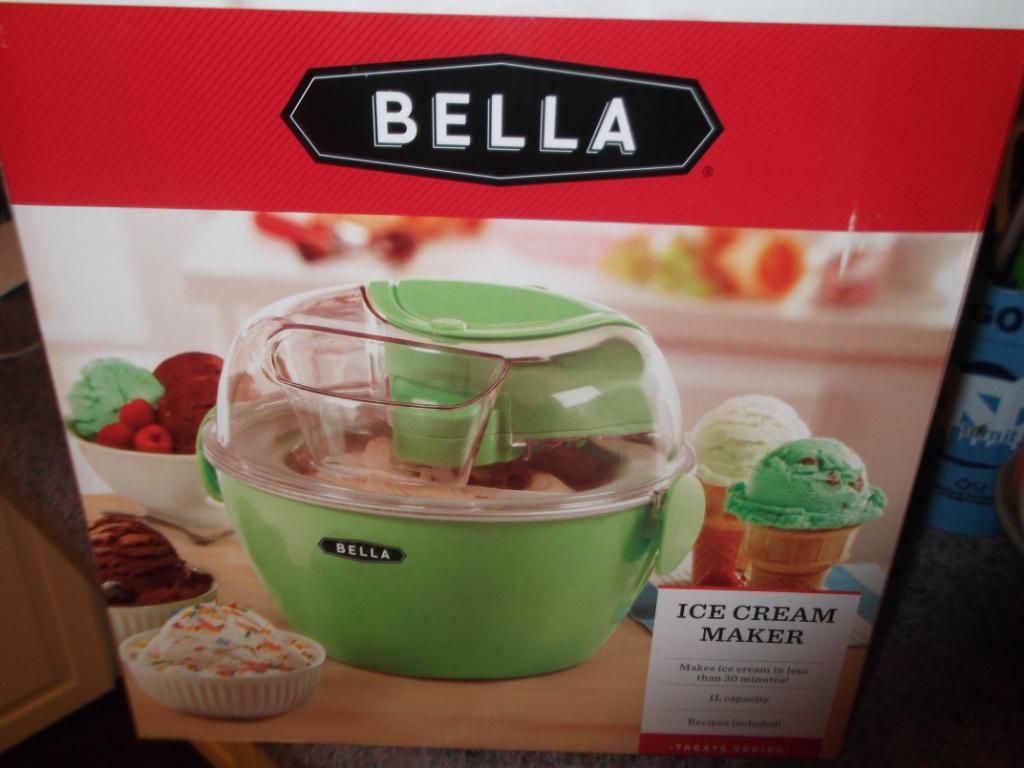
My mom gave me this ice cream machine for my birthday and I was so excited when I opened it.  I'm not sure if you all will remember when I ordered the ice cream shaker a few months ago but I was thrilled to be able to put low carb friendly ingredients in and make ice cream that wouldn't blow my diet.  This is a much bigger and much less messy version of that.
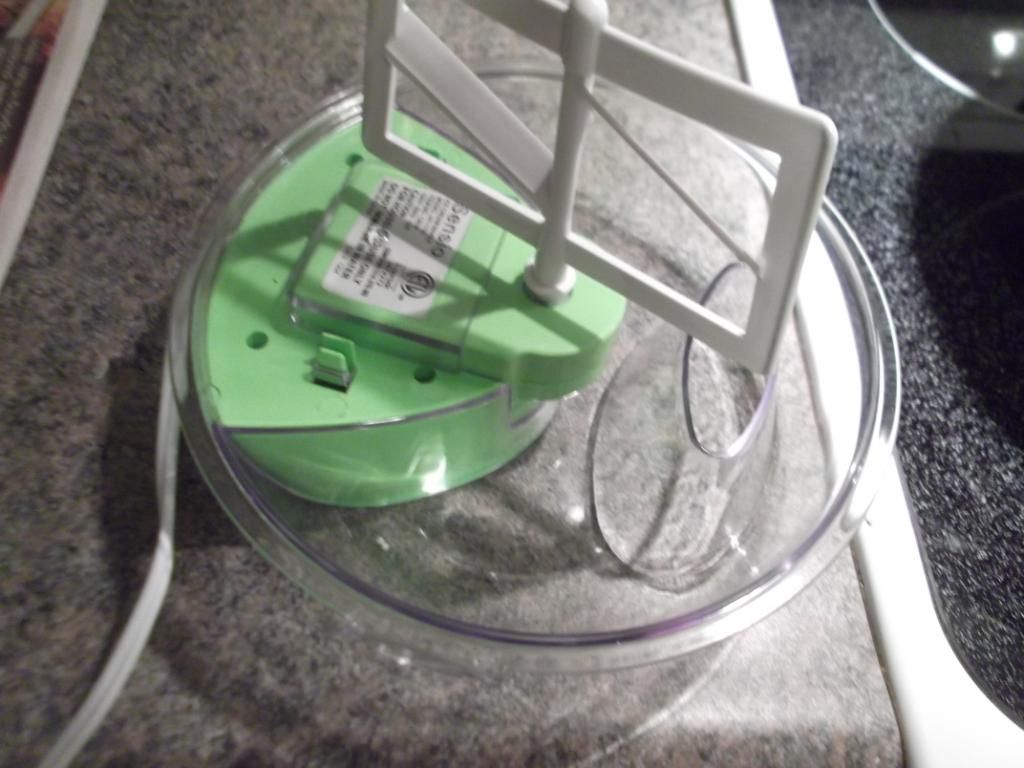

There's actually not much to the ice cream machine.  It has a large metal bowl that you have to chill in your freezer overnight, and a lid with a spatula.
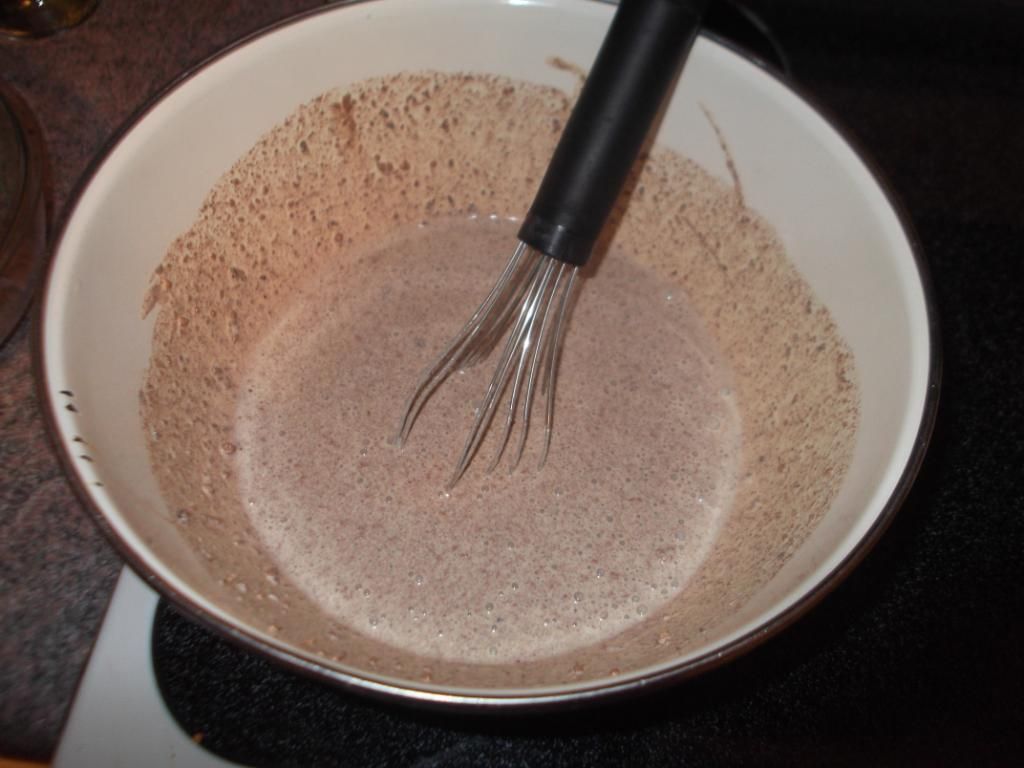

The ice cream machine comes with a small recipe book so I pulled one out of there and added a few low carb tweaks.  Instead of sugar I substituted baking Splenda.  I also skipped the milk and used half heavy cream and half sugar free almond milk.  This recipe also called for some egg yolks and some cocoa powder. It was extremely easy.
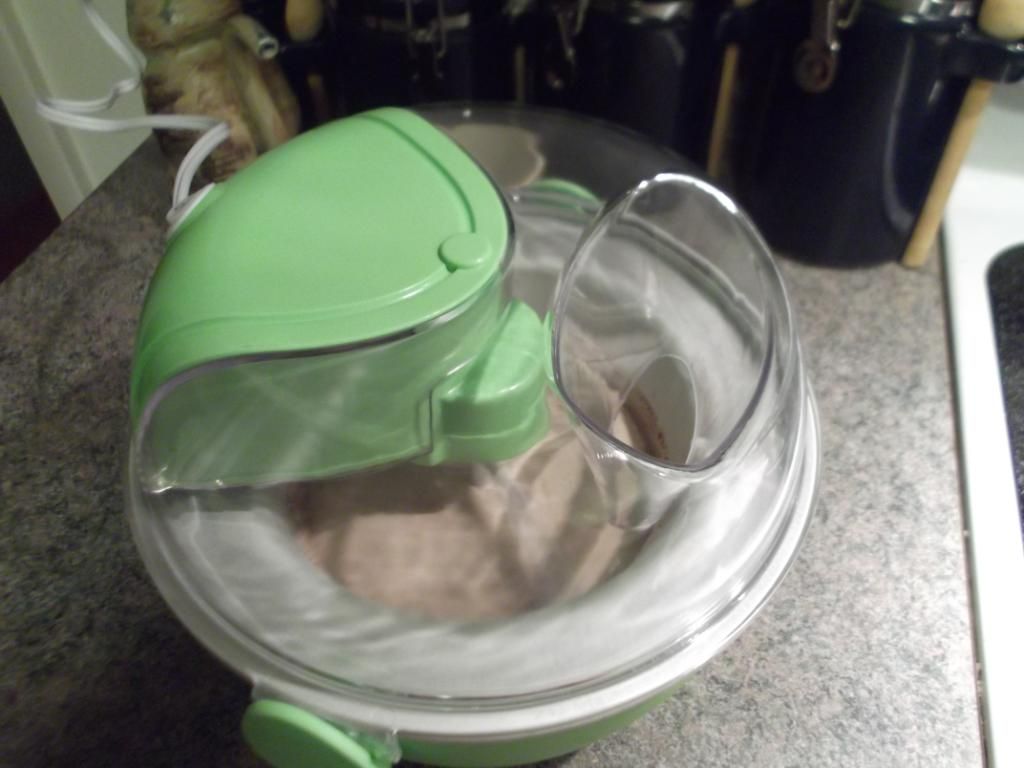

After you've frozen the bowl overnight and whisked together your ingredients all you have to do is dump the ingredients in the bowl, snap on the lid, and turn on the machine.  The spatula will stir the ingredients while the bowl freezes them.  The whole process takes about 7 minutes.
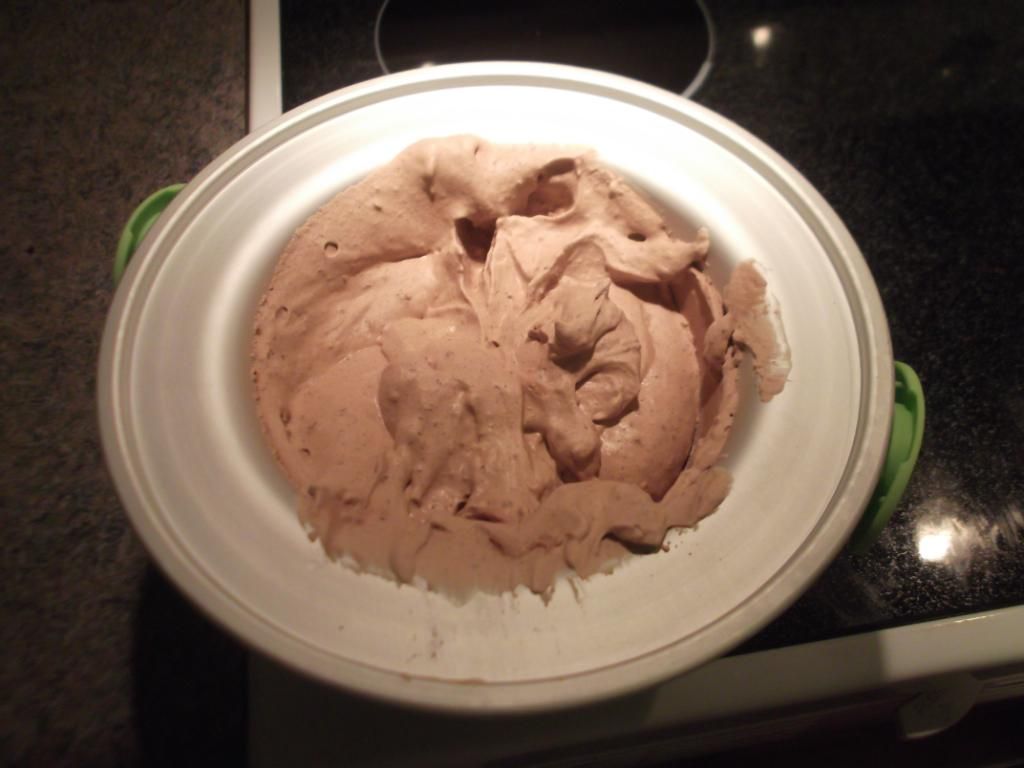

When the ice cream gets hard enough that the spatula can't stir it anymore the machine will beep and you'll end up with something that looks like this.  Yummy.

Now for the good and the bad: The ice cream has a good texture and is slightly melty and delicious when you first take it out of the machine.  Some of it will stick to the sides of the bowl and you won't be able to scoop it out but that's okay.  This recipe makes something like 4 cups which is more than you can eat in one sitting.  When I put the leftover ice cream in the freezer and took it back out later the texture was not as good.  It was completely rock hard.  I let it melt in the fridge for about 45 minutes and it softened to a point where I could scoop it.  It was good, but a little grainy and not as good as the first serving fresh out of the machine.

Overall the ice cream machine is a good investment because we can have low carb ice cream whenever we we want it.  I might try to halve the recipe next time and see if that makes less waste.  I also think that the almond milk might have made for a less cream consistency so I'll be trying this recipe again just substituting milk for cream sometime soon.

If any of you have experience using one of these babies and have some tips or recipe suggestions I would love to hear them!  You can leave them in the comments below or email them to me.  And, as always, please continue to send your questions and suggestions to lifelovelowcarb@gmail.com.

1/14/2013

Little Turkey Pizzas

I've been doing a lot with turkey cutlets lately.  They are a little bit more expensive than chicken cutlets, but they are much easier to work with.  The shape tends to be more uniform and the cutlets are less slimy than chicken which makes them easier to roll or lay in a pan or whatever you happen to be doing.

I think we've established by now that I love pizza.  It's one of my trigger foods, which means that when I start eating it I cannot stop.  Pizza is one of the only meals that I truly miss from before I embraced a low carb lifestyle.  You'll find low carb pizza recipes popping up here from time to time because I'm trying to get my fix.  These little turkey pizzas are easy to make and totally tasty for when you need some cheesy goodness.


Ingredients
1 lb turkey cutlets
salt and pepper
2 Tbsp olive oil
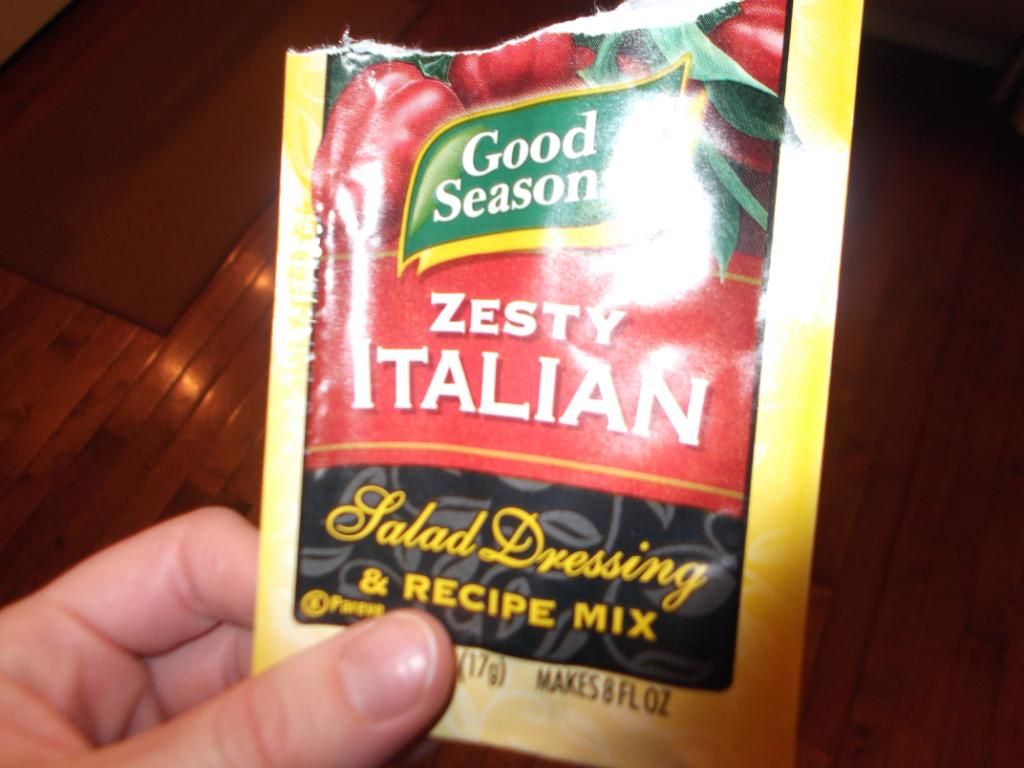
1 packet Italian seasoning
4 Tbsp pizza sauce
2 C shredded mozzarella cheese
whatever toppings you like

Directions
  1. Preheat oven to 350.  
  2. Lay turkey cutlets out on a plate and sprinkle both sides with salt and pepper.  
  3. Heat olive oil in a large skillet over medium high.  
  4. Once oil is hot lay turkey cutlets in skillet and cook for 1-2 minutes on each side.  Turkey does not have to be cooked all the way through, but there should be no visible pink.  
  5. Remove turkey cutlets from pan and lay on a paper towel to drain for 3-5 minutes.  
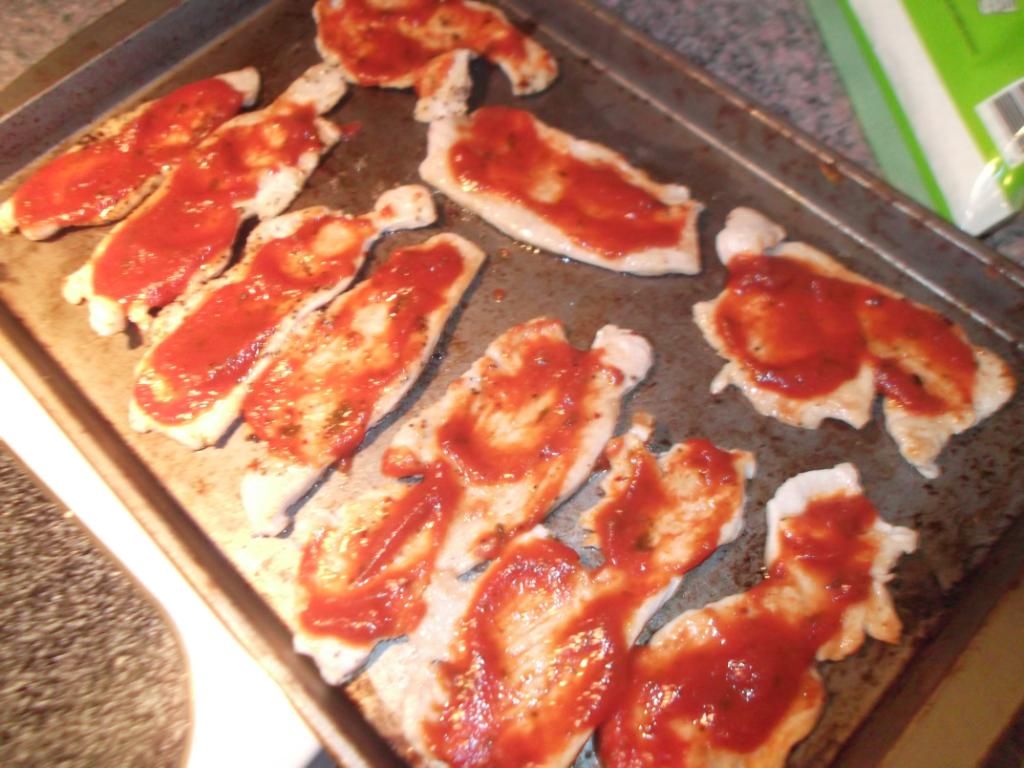
  6. Spread turkey cutlets out on a baking sheet and top each cutlet with a spoonful of pizza sauce.  
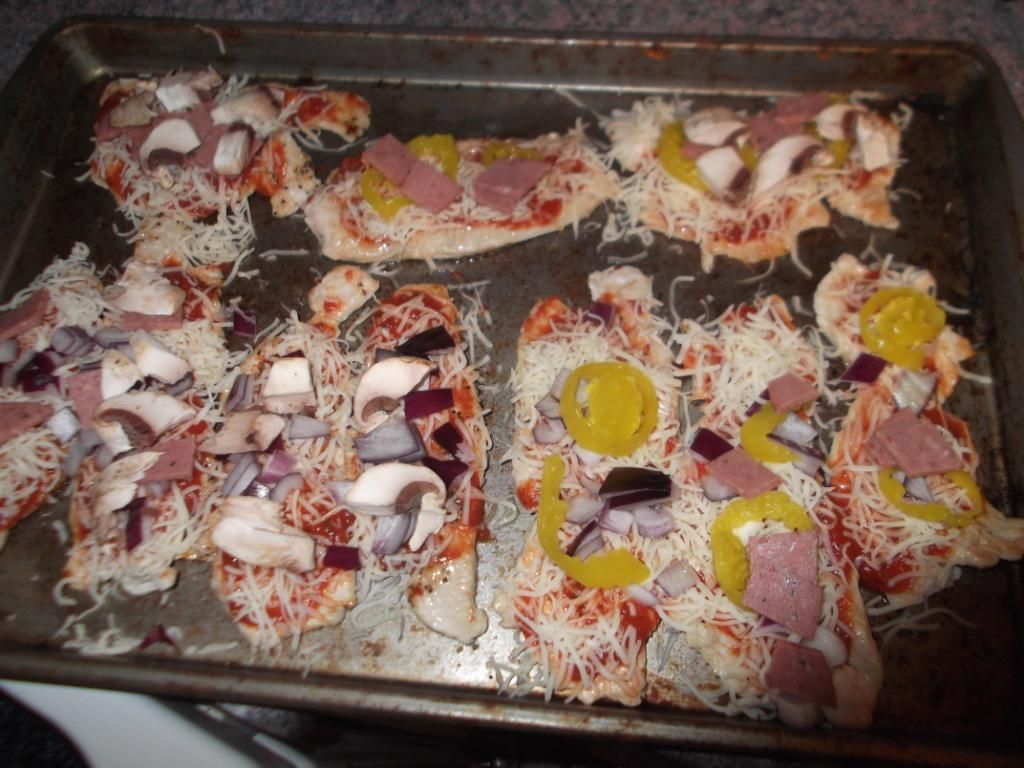
  7. Layer shredded mozzarella over pizza sauce.  
  8. Place whatever toppings you like over shredded mozzarella.  
  9. Sprinkle Italian seasoning over entire pan of turkey pizzas.  
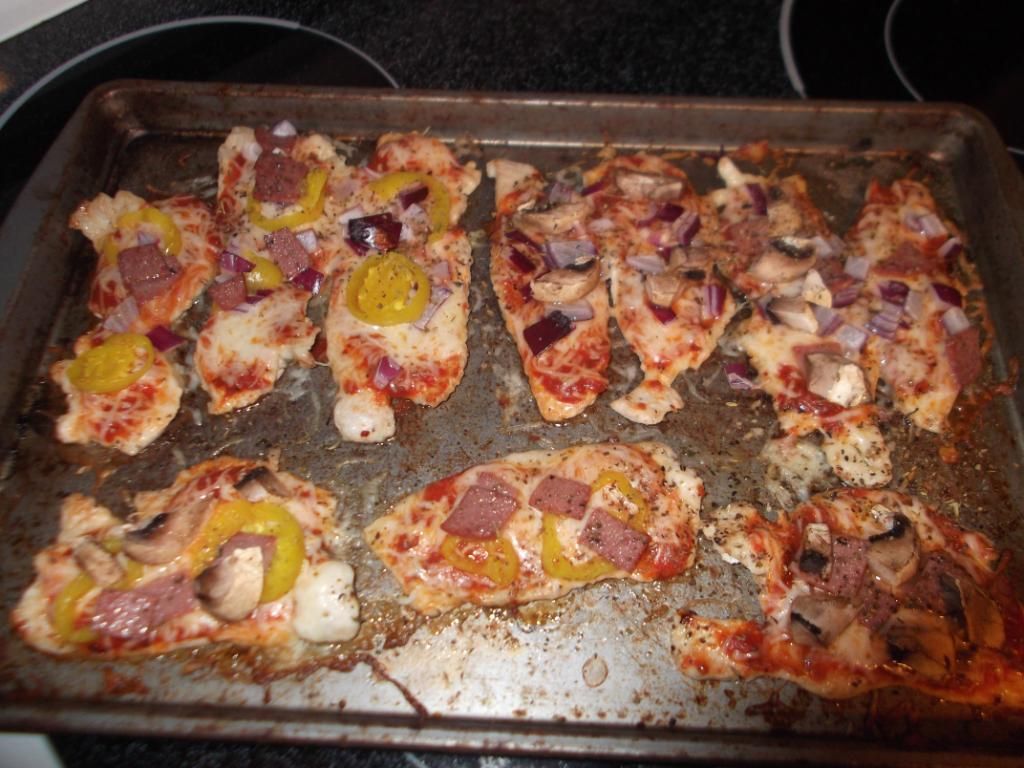
  10. Bake at 350 for 15-20 minutes.  Toppings should be cooked through and cheese should be bubbly when turkey pizzas are finished.  
Notes
  • The measurements listed above are approximate.  When I made this recipe I just spooned sauce and sprinkled cheese over the turkey cutlets.  Use as much as you feel good about.  
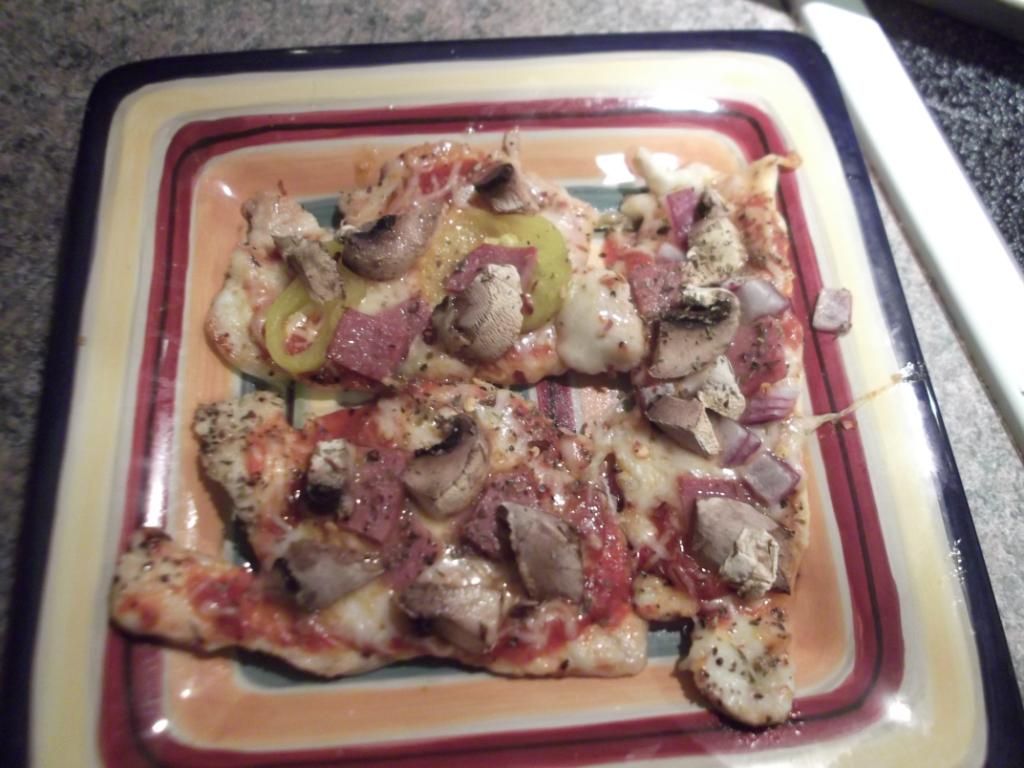
  • We topped our turkey pizzas with whatever we had lying around in the fridge: banana peppers, onions, mushrooms, and salami.  
  • After you cook your turkey cutlets in the skillet make sure to let them drain long enough for some of the moisture to wick away, otherwise you'll have turkey soup when you put these in the oven.    


1/09/2013

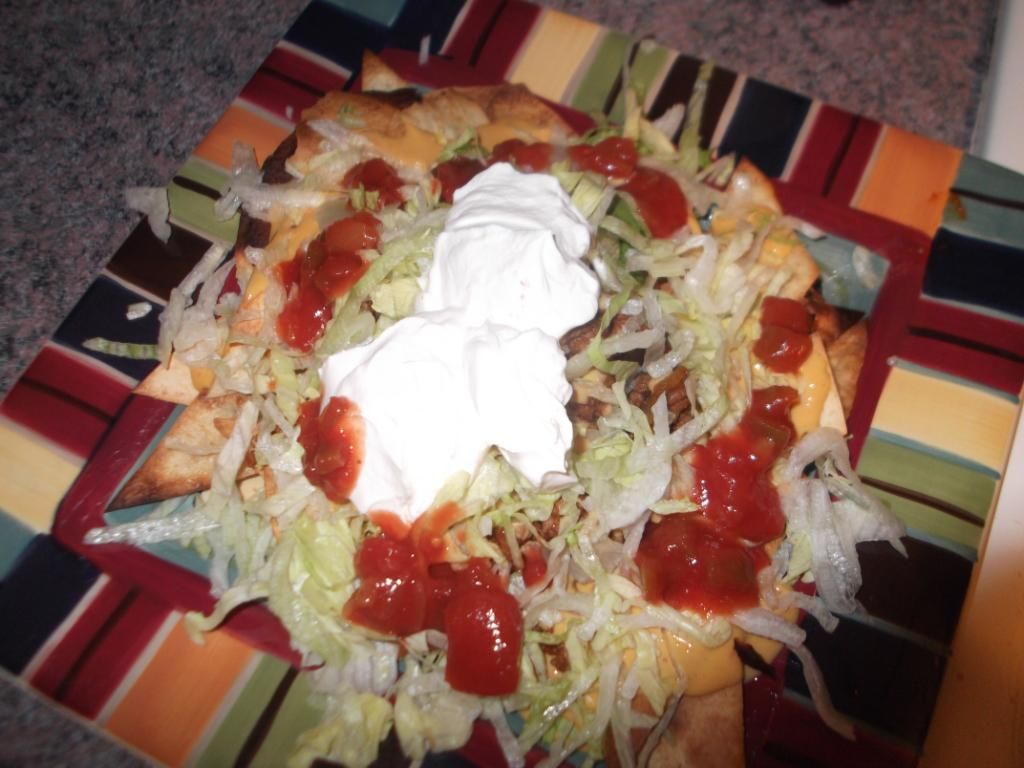
Low Carb Nachos

I think I've mentioned before how much I love Smart and Delicious tortillas from La Tortilla Factory.  The products range in carb count from 3 net carbs to close to 20, so make sure that you check labels before you buy.  As you might expect, the 3 carb version, Low Carb/High Fiber, will get the job done but they are small and not very tasty.  The awesome boyfriend and I much prefer the Olive Oil Soft Wraps, which still clock in at a respectable 6 or 7 net carbs.

You can absolutely top these nachos with whatever you like, but the awesome boyfriend and I always want the works.  Remember that toppings like salsa, sour cream, and beans can add up quickly so make sure to include them in your total carb count.


Ingredients

1 Olive Oil Soft Wrap from La Tortilla Factory
2 Tbsp olive oil
1 tsp garlic salt
1/2 lb ground beef
1/2 of 1 -4 oz can diced green chilies
2 Tbsp taco seasoning
1 C shredded lettuce
1/4 C salsa
1/4 C sour cream
1/2 C queso cheese

Directions
  1. Preheat oven to 350.  
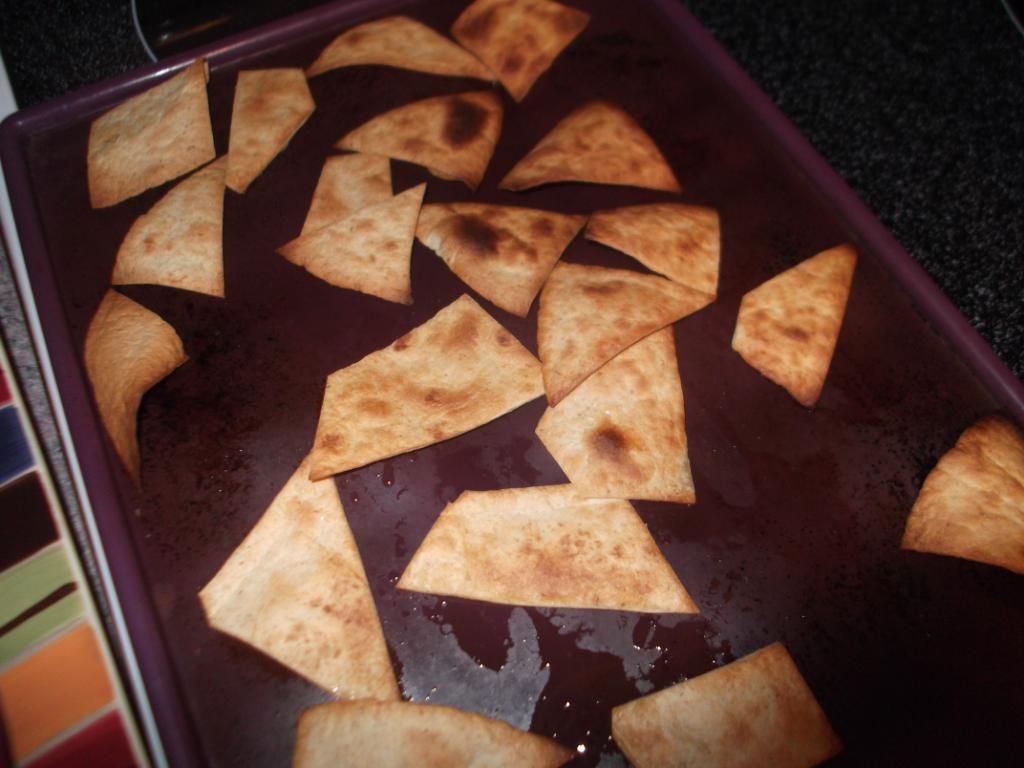
  2. Cut tortilla into triangular chip shapes and lay out on baking sheet.  
  3. Drizzle tortilla pieces with olive oil.  
  4. Sprinkle garlic salt over tortilla pieces.  
  5. Put tortilla pieces in the oven and bake until edges have browned (5-10 minutes).  
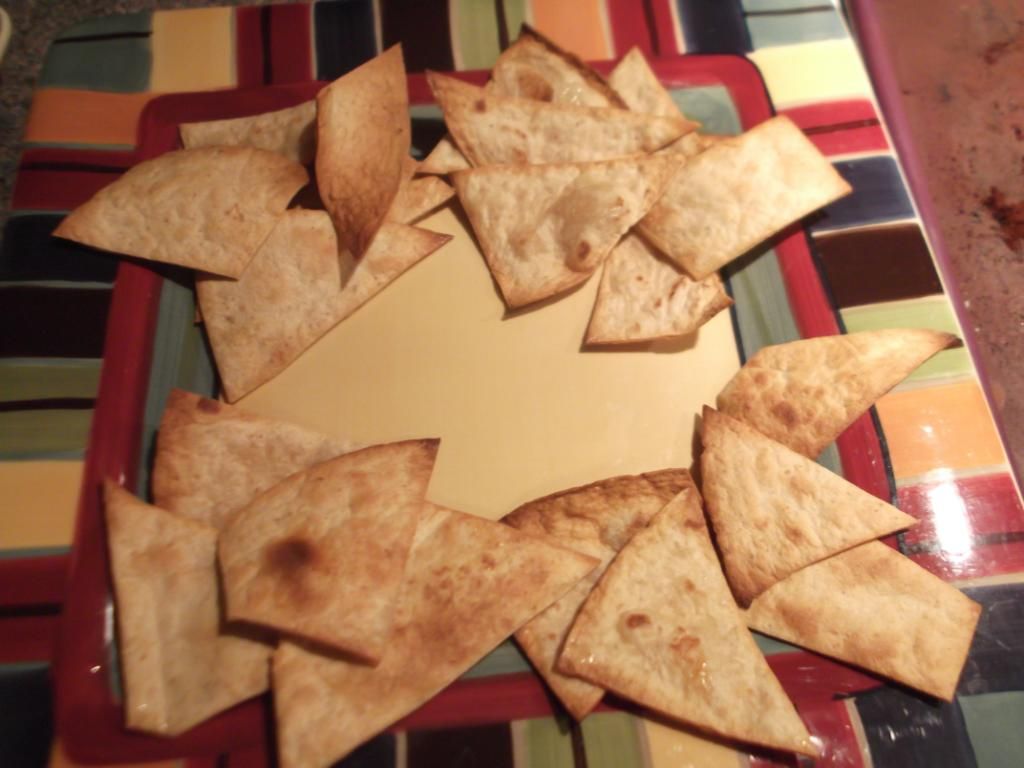
  6. Arrange tortillas in a circle on a plate and set aside.  
  7. Head a large skillet over medium high.  
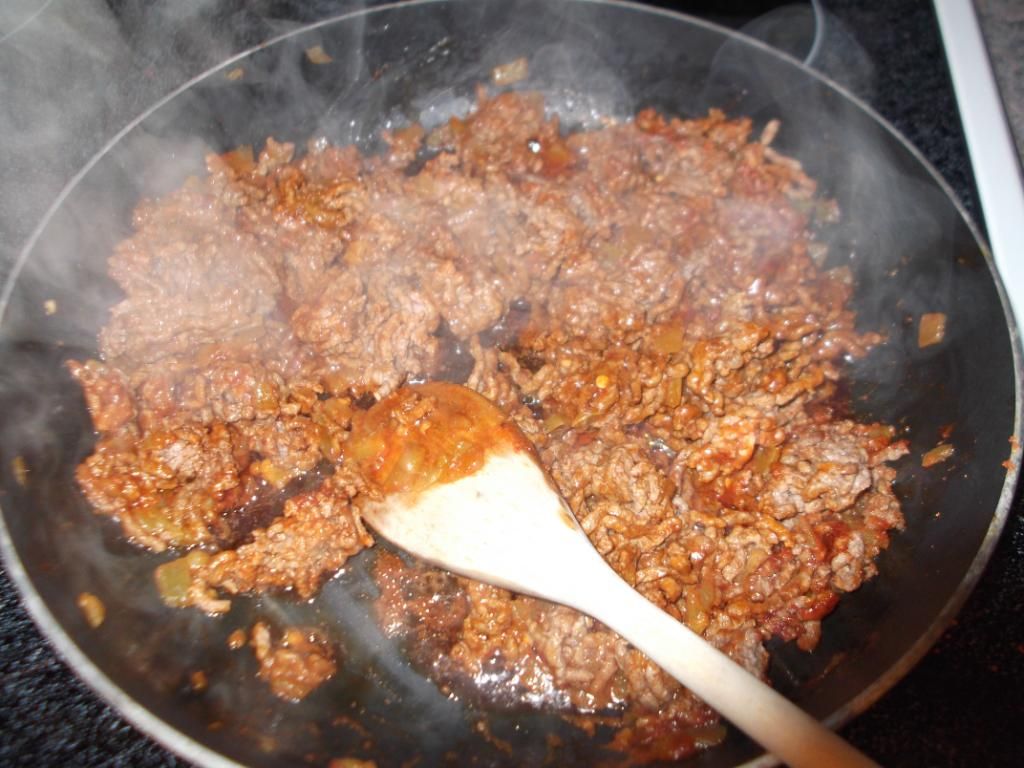
  8. Add ground beef and cook until beef has browned.  
  9. Remove from heat, drain, and return to pan.  
  10. Add taco seasoning and green chilies and stir until ground beef is evenly coated.  
  11. Layer ground beef on plate over tortilla chips.  
  12. Heat queso in the microwave 30 seconds - 1 minute.  
  13. Pour queso over ground beef on plate.  
  14. Top queso and beef with lettuce, salsa, and sour cream.  


One tortilla made all these chips!  I can barely believe it myself!


Notes
  • I used the leftover ground beef and queso from this recipe to make an awesome burrito at work the next day.  Whenever I'm making seasoned ground beef I always make extra.  
  • If you use the smaller, lower carb tortillas you can have two.  If you use the larger soft wraps you can only have one, but you'll get about the same amount of chips and nutritional value either way.  
  • When I add the olive oil to the tortilla pieces I squash them around in it a bit to try to get as many coated as possible.  
  • You definitely want to stay near the oven and keep an eye on your tortillas!  Cooking times will vary based on your oven, which tortillas you choose, and what size you cut your chips.  As soon as you see them start to brown go ahead and pull them because they will burn very quickly.  
  • You can add as much or little taco seasoning as you like.  If you want a spicier beef you can also add a little hot sauce or crushed red pepper.  
  • If you want to cut some carbs you can switch out the queso for regular shredded cheddar cheese or a shredded Mexican cheese blend.  
  • When the awesome boyfriend and I last ate this I actually cooked a whole 2 pounds of beef at once.  We each had a little and I saved the rest for taco salads the next day.  


1/08/2013

Rethinking the Freshman 15

New infograph for you all courtesy of my friends over at Medical Billing and Coding.  Turns out that the average college student gains less than 5 pounds in their first year.  I know that my freshman year of college I gained 15 pounds due to drinking too many sugary cocktails and then binge eating bagels with cream cheese the next morning.

Looking for some inexpensive and nutrition packed meals and cocktails?  Check out my recipes section for lots of spending shortcuts and easy fixes.

Rethinking the Freshman 15
Compiled By: MedicalBillingandCoding.org

1/07/2013

Vodka Citrus Spritzer

Ah, happy hour, one of my favorite times of day.  Okay seriously, I'm not a lush, but I do enjoy a cocktail after a particularly dreadful day at work.  When I was in my 22 year old body and dancing the night away I would order my vodka with cranberry and orange juice.  Now that I'm in my 29 year old body and like to spend my evenings in, ahem, quieter atmospheres, I've had to cut the sugar.  I'd like to introduce you to my go-to evening libation, the Citrus Spritzer.  I know it's not as girly-twirly as the pink drinks with fruit slices you see on the cover of drink menus but, believe me, it's delicious.


Ingredients
1/4 oz Rose's Sweetened Lime Juice
1 1/2 oz Smirnoff Citrus vodka
any berry flavored seltzer water

Directions

  1. Add Roses's Lime to a small measuring cup.    
  2. Add vodka to measuring cup on top of Rose's Lime.  
  3. Add four ice cubes to a standard size 8-10 ounce rocks glass.  
  4. Pour lime and vodka mixture over ice.  
  5. Fill glass with berry seltzer water.  
  6. Serve immediately and enjoy!  
1 tsp of Rose's Lime has 2 carbs.  This stuff is really sweet so I never
need a whole teaspoon but if you want a little bit more sweetness you
can add more as long as you count those carbs.  


I cannot tell you how often I pull out this tiny measuring glass.  It is
awesome for cocktails and spices.  It goes to 4 ounces and also has
Tablespoon and teaspoon measurements on the other size.  If you don't
already have one I highly suggest you pick one up.  


The great vodka debate: Sometimes I make this drink with Black Cherry
Grey Goose and it's also very good.  But who wants to keep buying
$40 bottles of vodka when you can get this one for $13?  


I love Amelia Seltzer.  They have all kinds of fun flavors like raspberry
lime and peaches and cream.  


Notes

  • Here's the deal with lime juice: fresh is best.  The juice of a medium sized lime has about 1 carb, which is very low.  That being said, there is no way in h-e-double-hockey-sticks that I'm making fresh lime juice every time I want a cocktail.  If I remember to pick up limes at the store, great.  Once you cut a lime it doesn't have a very long shelf life, so I often end up throwing half a lime away.  I always keep some Rose's on hand for those occasions.  
  • Any berry flavored seltzer water will do in this recipe.  Normally I make my own with my Soda Stream, but I picked up a bottle of Amelia Seltzer for the sake of this post.  You can find these flavored soda waters at your grocery store right next to the regular soda.  

1/04/2013

Cheesy Turkey Roll Ups Slow Cooker Style

This recipe was another crock pot success.  It took a couple of tweaks to get it right but the awesome boyfriend was a trooper and helped me sample several varieties of rolled up poultry.  The turkey cutlets are a little bit more expensive than the chicken cutlets, but they are MUCH easier to work with.  Also, the sauce is so good that I saved it and used it in some other dishes for a couple of days.  Next time I'll definitely be making double sauce.


Ingredients
1 package of turkey cutlets (about 2 lbs)
1 package of Kraft Singles in cheddar flavor
1 package dry vegetable soup mix
1/4 C white cooking wine
1/4 C apple cider vinegar
1/2 C Frank's Red Hot sauce
1/2 C heavy cream

Directions
  1. Lay one turkey cutlet on a flat surface. 
  2. Cut cheese slice in half and lay length wise on top of the turkey cutlet.  
  3. Roll turkey cutlet length wise into a spiral.  
  4. Lay each rolled turkey cutlet, seam down, on the bottom of the crock pot.  
  5. Whisk together white cooking wine, vinegar, hot sauce, and vegetable soup mix and pour entire contents over turkey cutlets into crock pot.  
  6. Cover and cook on low for 4 hours.   
  7. After 4 hours, remove turkey cutlet rolls from crock pot and set aside.  
  8. Pour remaining contents from crock pot into medium sized sauce pan and heat over medium low on stove top.  
  9. Add heavy cream to saucepan and stir with a whisk until all ingredients are incorporated.  
  10. Cook 1-2 minutes, or long enough to heat all sauce ingredients all the way through.  
  11. To serve place cutlet rolls on a plate and top with sauce.  Serve with hot sauce if desired.  Enjoy!


Don't worry about exactly covering the turkey cutlet with the cheese.
Most of the cheese is going to melt out into the sauce anyway.


You can find this in the grocery store, probably near the vinegar.


It's okay if the mixture burns a little around the edges.  Some of my cutlets
came out a little darker than others, but they were all good.


I tried to just dump the cream straight into the crock pot and it was very
difficult to get everything mixed and then transferred to a bowl after
it was hot.  I highly recommend doing this step on the stove instead
of in the pot


So good.  Serve with salad if you need a little something extra.

1/02/2013

Steak and Eggs Over Arugula

I'm still on my poached eggs kick!  Tonight for dinner I was able to use up the last of the sirloin steak and arugula that was in the fridge.  This is a quick and easy dish that is perfect for those nights you only need to cook for one.


Ingredients
1/2 lb sirloin steak
1 Tbsp minced garlic
1 Tbsp dry minced onions
1 Tbsp olive oil
1 Tbsp Worcestershire sauce
2 C arugula
2 eggs
1 tsp vinegar
1/2 C shredded Parmesan cheese
salt and pepper to taste

Directions

  1. Cut sirloin steak into bite size pieces.  
  2. Add minced garlic, dry minced onions, olive oil, and Worcestershire sauce to a Ziploc bag.  
  3. Add steak to Ziploc bag and massage to marinate.  
  4. Allow steak to marinate in Ziploc bag at room temperature for 30 minutes.  
  5. Heat a medium sized skillet over medium high.  
  6. Pour entire contents of Ziploc bag into skillet and cook until steak pieces have browned on all sides.  
  7. Remove steak from skillet and set aside on a paper towel to drain.  Discard excess cooking liquid.  
  8. Fill a medium sized saucepan half full of water and add vinegar.  
  9. Heat water and vinegar mixture to a slow simmer.  
  10. Crack eggs into a small bowl, being careful not to break the yolks.  
  11. Gently slide eggs from the bowl into the hot water.  
  12. Cook eggs for 4 minutes.  After 4 minutes gently drain poached eggs into a colander.  
  13. Place arugula on a plate and top with cooked steak.  
  14. Sprinkle shredded Parmesan over top of steak.  
  15. Gently slide eggs out of colander and layer on top of steak and cheese.  
  16. Sprinkle top of eggs with salt and black pepper to taste.  
  17. Serve with hot sauce if desired.  Enjoy!  
Notes
  • If you buy your steak at the grocery store, you can ask the butcher to slice it thin.  Desired thickness is about 1/2 inch for this recipe.  If you don't want to do that, just cut the pieces as thin as possible with a sharp knife or kitchen shears.  
  • Any time you poach eggs you don't want the water to get too hot.  If you get a rolling boil going, the eggs will break.  A slow simmer means that small bubbles are forming on the bottom of the pot.  This water will be hot enough to give you a perfect poach.  
  • Timing for poached eggs will vary slightly based on how hot your water is, what size your eggs are, and how done you like your yolks.  It took me a few tries to get it right, and I'm sure you'll have the same experience.  4 minutes is an approximate cooking time.