5/29/2013

Parmesan Roasted Asparagus

Asparagus is one of my go-to vegetables.  I used to not buy it that often because a bunch is around $4.00 and only feeds 2-3 people.  Since we have been shopping at Costco, asparagus is back on the menu!  Now my asparagus comes in a huge bag that the awesome boyfriend and I can munch on for about a week.


Ingredients
30 stalks of asparagus
1 Tbsp olive oil
1 tsp salt
1 tsp black pepper
1 C shredded Parmesan cheese

Directions

  1. Preheat oven to 350 degrees.  
  2. To prepare asparagus for cooking, break off woody portion at bottom of stems.  (See video below).  
  3. Lay asparagus on baking sheet and drizzle with olive oil.  
  4. Sprinkle salt and pepper over asparagus.  
  5. Using a spatula, or your hands, toss asparagus to evenly coat with oil, salt, and pepper.  
  6. Place baking sheet in oven.  
  7. After ten minutes remove baking sheet from oven, and switch oven over to broiler.  
  8. Sprinkle shredded Parmesan cheese over asparagus.  
  9. Roast under broiler for 5 minutes, or until cheese is bubbling and toasted on edges.  
  10. Remove from oven and serve immediately with a spatula.  Enjoy!  
Notes
  • Here's a video on how to prepare asparagus.  Sometimes I shave the stalks with a veggie peeler and sometimes I do not.   It just depends on how much time I want to spend.  Roasted asparagus should be fine if you don't shave the ends, but it will make the stalks a little bit more tender.  You do need to break or cut the whiteish/purpleish ends off of the stalks because they are inedible.  


  • My broiler has a high and a low setting, and I used the low one for this recipe.  Broilers are really hot and will burn something up in a second, so you need to stand by and keep an eye on the cheese while it's under there.  
This is enough asparagus for 3-4 servings.  


Yummy.  


5/28/2013

Work breakfast and work lunch.

If you are a regular reader then I'm sure you've heard me talk about eggs and how great I think they are.  If not, then welcome to the party.


My office is awesome and has a full kitchen that people actually use.  Most mornings I scramble and egg with some salt and pepper.  I also have a flax pita with a Tablespoon of cream cheese.  The protein and fiber keeps me full all morning.  

I had a simple lunch of roasted butternut squash, meatballs, and a Fuze iced tea.  It's kind of an indulgence, but I buy the butternut squash that is already cleaned and cut into chunks.  I used to peel and clean my own squash, but with the butternut variety it's just too much work.  For lunch I spread them on a small pan with some olive oil, salt, and pepper, and bake them in the toaster oven on 350 for about 40 minutes.  

These meatballs come frozen in a box.  You should be able to find them at your regular grocery store in the freezer section.  They have about one carb each.  I like to toss them in some steak sauce and heat them in the microwave when I'm at the office.  They aren't my favorite lunch, but they are an excellent choice when I don't have anything defrosted or precooked in the morning.  


This lunch is also packed with protein and fiber, which really helps cut down on snacking during the workday.  If I don't eat the right things for breakfast and lunch, then I find myself looking for snacks around 4:00 in the afternoon.

5/23/2013

Weird dinner tonight.

After work I went to a Tri Delta happy hour with some girls from the DC area.  Side note: if you are a Tri Delta in the DC or Howard County area and you want to join an alumnae group, get in touch with me via email!)  I got there about 20 minutes early so I parked in a garage and walked across the street to Reddz Trading, what I thought was a regular dress shop.  It ended up being this really cool designer resale shop with lots of shoes and purses.  I managed to try on a very cool gold sequined skirt from Apostrophe and buy it for $12(!) before I had to run.  Reddz is in Bethesda pretty close to the metro, so I'll be going back when I have more time.

I met the girls at Black's Bar and Kitchen around 5:00.  I was very impressed with the happy hour menu.  They had $5.00 glasses of wine, and a couple of beers from local breweries on special.  There was a short martini list and I looked it over, but all of the options appeared to be sugar bombs like Lemon Drops and Cosmos so I steered away.  

The happy hour food menu was short: mussels, oysters, shrimp, and calamari.  We got an order of mussels and I also ordered half a dozen oysters.  Both were delicious.  The mussels came in a very garlic-y crushed tomato sauce.  The oysters were from the Chesapeake Bay and I doused them with lots of vinegar.  My whole mouth just started watering as I'm typing this.  Unfortunately I suck at life and I got very distracted by sequins and wine and I forgot to take pictures.  You all will have to use your imaginations and envision a plate of crushed ice topped with six oysters and little cups of vinegar, horseradish, and cocktail sauce.

After happy hour I headed home.  I was a little bit hungry, but not enough for a full dinner.  I poked around in the fridge and found half of a chicken breast and some pepperonis.  Logic today tells me that I should have made a buffalo chicken pizza, but I was too tired.  I warmed up the chicken breast in the microwave and had a regular Tortilla Pizza alongside it.   It was the perfect ending to an already lovely evening.  


5/22/2013

Pork chops and artichokes.

Guess what, y'all- artichokes are in season!  I know this because they are now available in a four pack at Costco.  This makes me a happy girl because single artichokes at the regular grocery store cost something ridiculous, like 2 for $5.

Yesterday I pulled some pork chops out of the freezer before I headed out the door for work.  When I got home they were ready to be pan fried and smothered with onions.  It takes an hour to cook an artichoke in the oven, so I prepped a Garlic Roasted Artichoke and popped it in the oven before doing anything else.  After the artichoke had roasted for 40 minutes, I put some olive oil in a pan and prepared two Ranch Pork Chops.  When they were cooked all the way through I set them on a towel to drain, and sauteed some onions in the leftover olive oil.


The awesome boyfriend does not really care for artichokes (more for me!) so he microwaved a bag of creamy frozen spinach to go alongside his pork chop.  This made for a super easy and very tasty dinner.  

5/17/2013

I love popsicles.

When I was a kid my mom never kept things in the house that were loaded with sugar.  I'm not sure what her exact criteria was for determining whether or not this is a suitable food to feed to my children, but I do know that we rarely had things like soda, ice cream, candy, or cookies.  We did, however, always had these damn sugar free Fudgesicles and popsicles, and I really grew to hate them over the years.  As a ten year old I did not care much about calories and refined sugar.  I just wanted to eat Nutty Buddy ice cream cones and Firecrackers like my friends.


Last week, the awesome boyfriend brought home this box of Sugar Free Tropical Popsicles.  I took one look at them and turned up my nose.  The joke's on me because when I finally broke down and had one (we were out of dark chocolate), it was delicious!

I think that as an adult, my palate has evolved to become more sensitive to sweeteners.  I often find myself thinking that things are too sweet, especially foods that have refined sugar like candy or soda.  These popsicles are the perfect amount of sweet, and they come in yummy flavors like strawberry and pineapple.  We went back and bought another box of the original flavors and they were tasty as well.  Maybe we'll even add the fudgesicles back soon.


5/09/2013

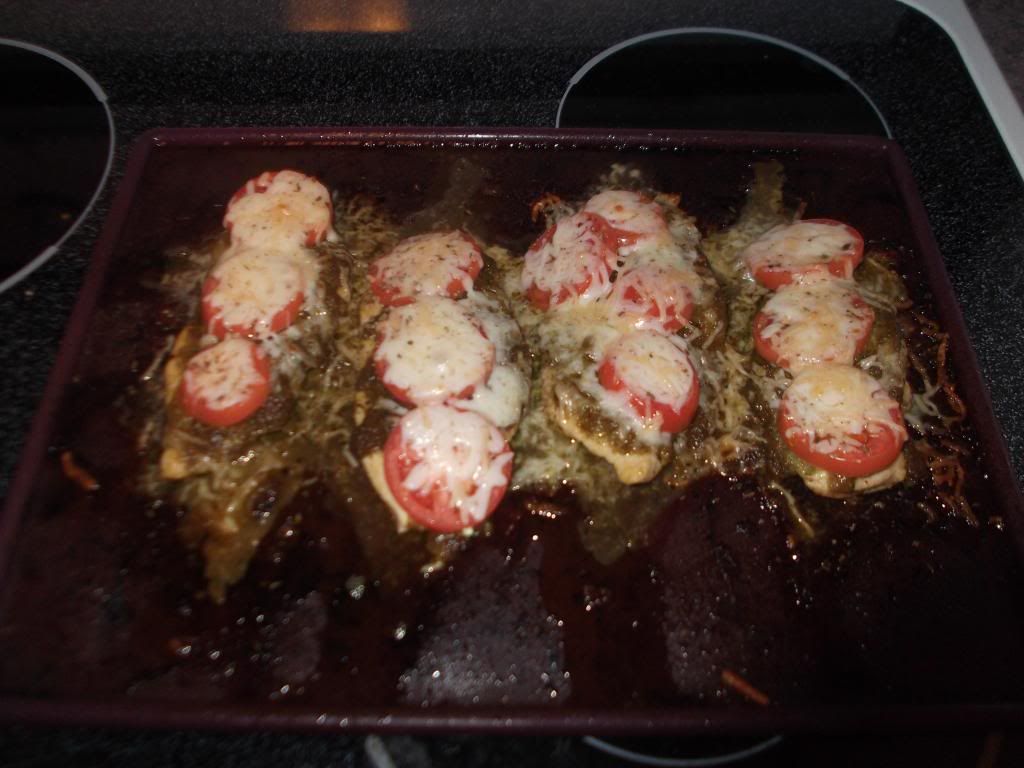
Pesto Chicken and Tomatoes

This dish was born because of a long day at work.  Normally I pull out some meat in the morning and combine it with whatever veggies I have on hand to make something delicious.  This work week has been crazy and yesterday I forgot to pull something out of the freezer before I ran out the door.  I know that you're all saying, but Kelly, you can defrost your chicken in the microwave!  Well, I don't like doing that because I am microwave challenged and I always end up cooking the corners of the meat in its own icky juices.

I stopped by the grocery store on the way home from work, racking my brain for what I could make that would be low fuss.  Pesto was on sale for half off so I grabbed 2 containers and then headed for the chicken cutlets.  Some of my tastiest dishes come about when I'm not trying too hard.  This is one of those.

   photo blog043-4_zpse676fbea.jpg

Ingredients
4 chicken cutlets
1 container Buitoni Pesto with basil
3 roma tomatoes
1/2 C shredded Parmesan cheese
1 tsp salt
1 tsp black pepper
2 Tbsp Italian seasoning

Directions
  1. Preheat oven to 350 degrees.  
  2. Remove chicken cutlets from package and rinse.  Pat dry.  
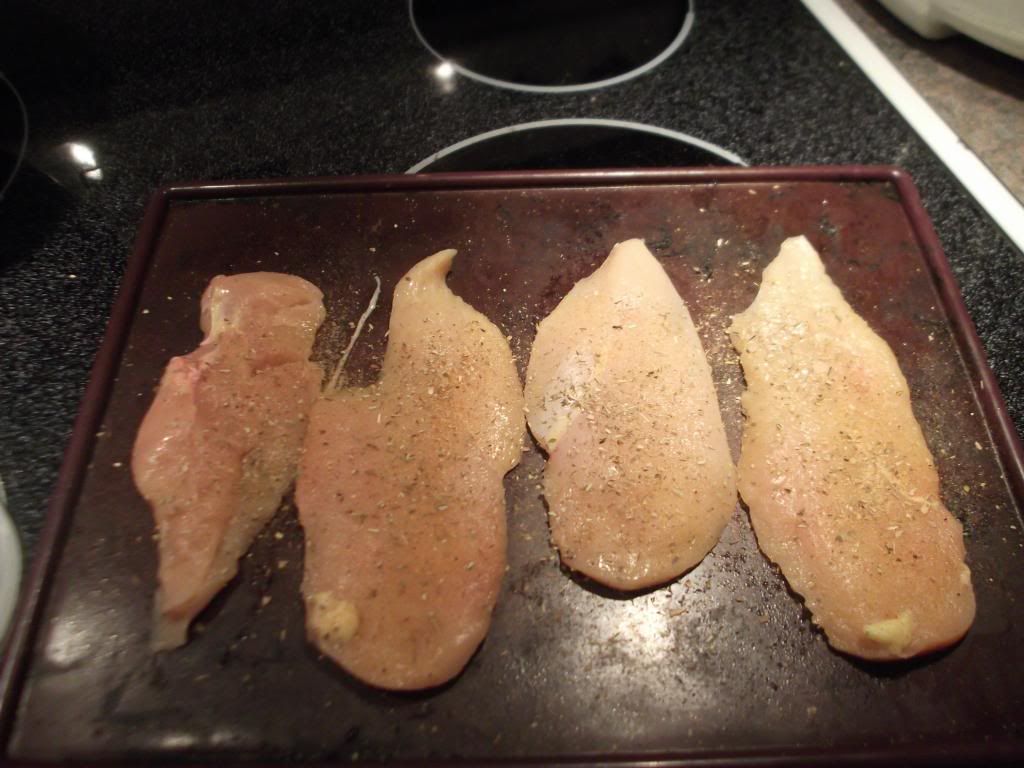
  3. Sprinkle half of the salt, pepper, and Italian seasoning over the chicken cutlets.  Turn over and repeat with remaining half of all three.  
  4. Spray some nonstick cooking spray on a baking sheet and lay the cutlets on the sheet.  
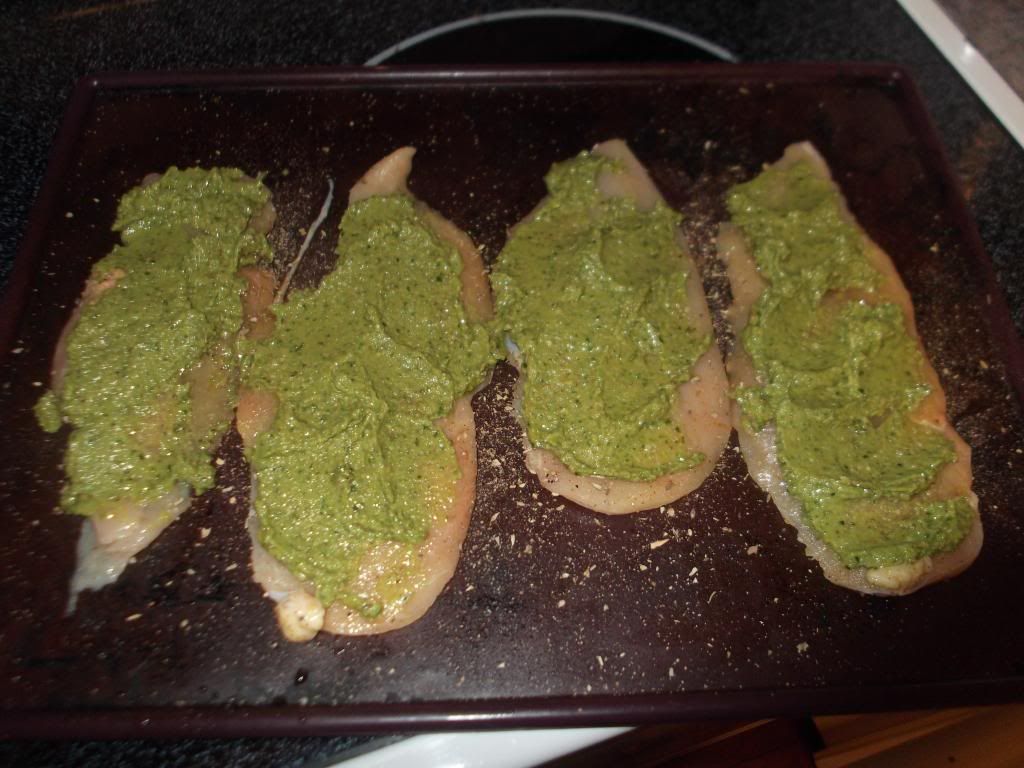
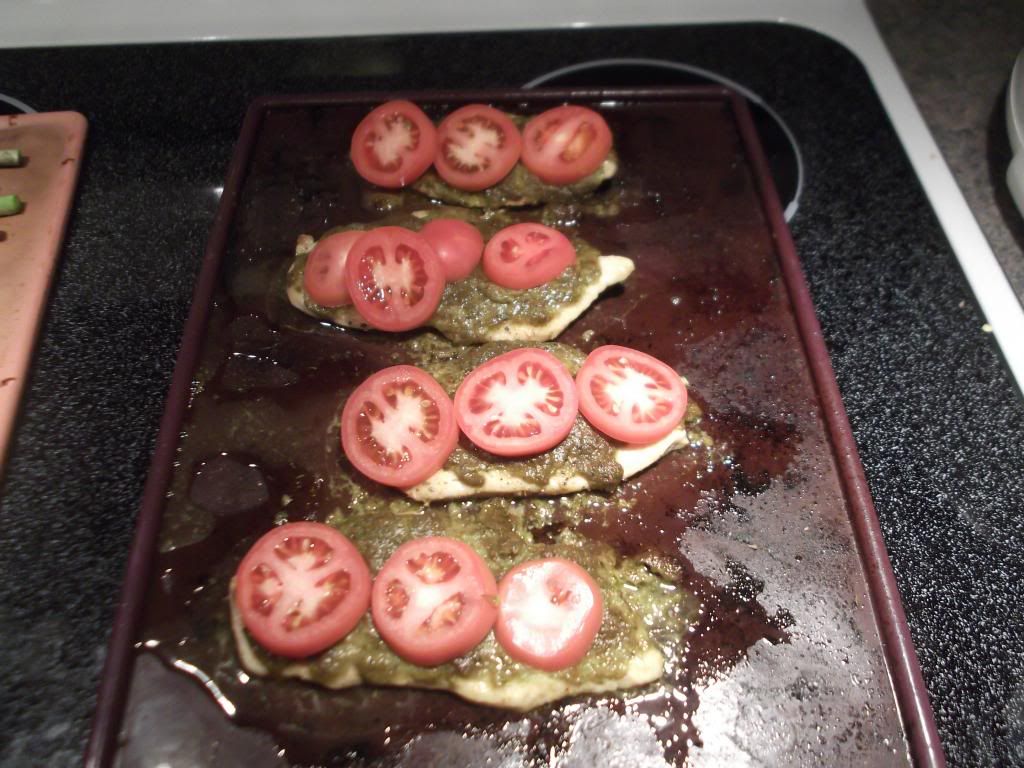
  5. Use the back of a large serving spoon to spread the Pesto over the chicken cutlets.  
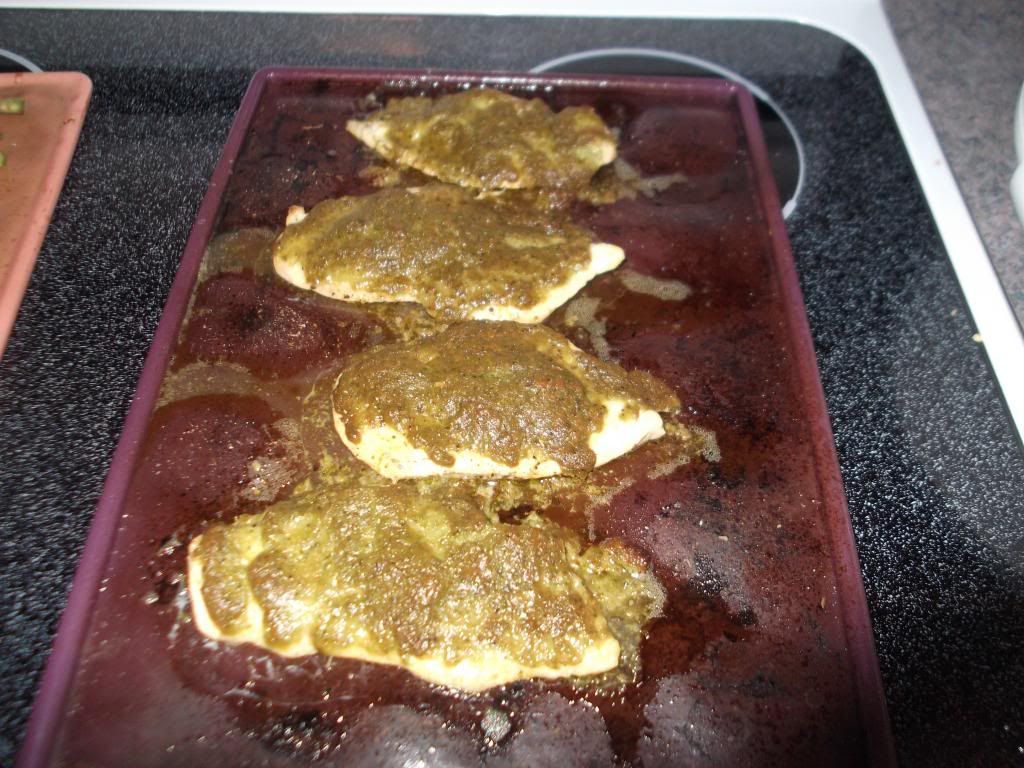
  6. Bake for 20 minutes then remove from oven.  
  7. Cut the tomatoes into 1/4 inch slices.  Layer the tomato slices over the pesto.  
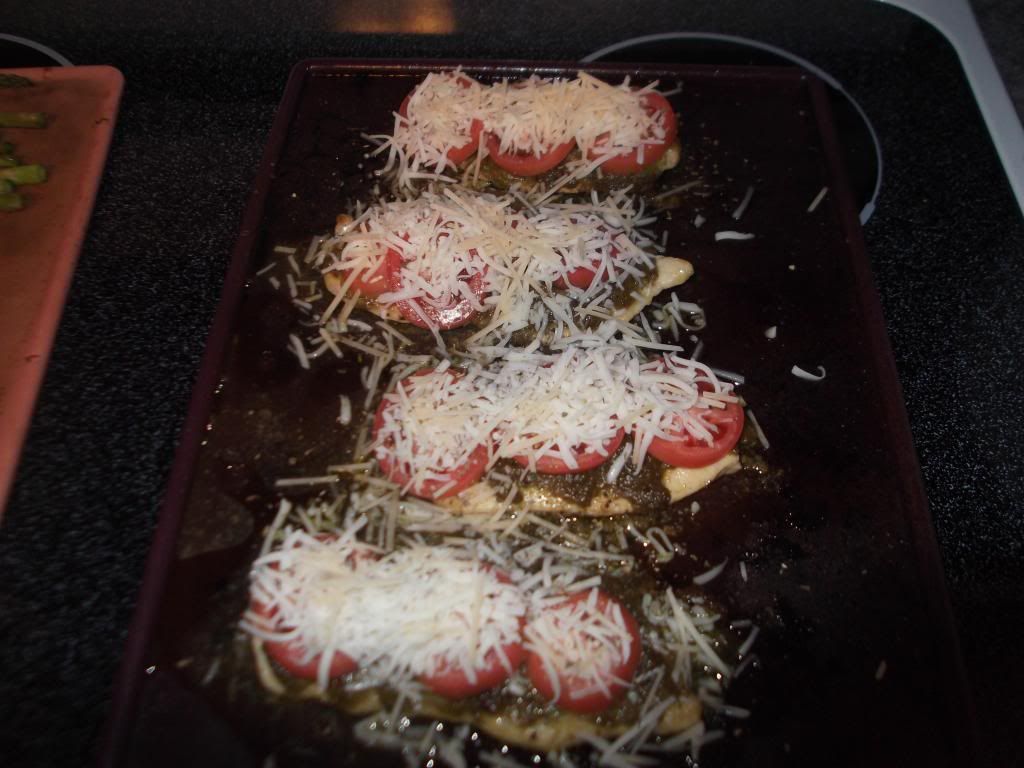
  8. Sprinkle Parmesan cheese over the cutlets and tomatoes.  
  9. Switch your oven over to the broiler and set on low.  
  10. Return the cutlets to the oven, and cook under the broiler for 5-10 minutes, or until the cheese has toasted and started to bubble.  
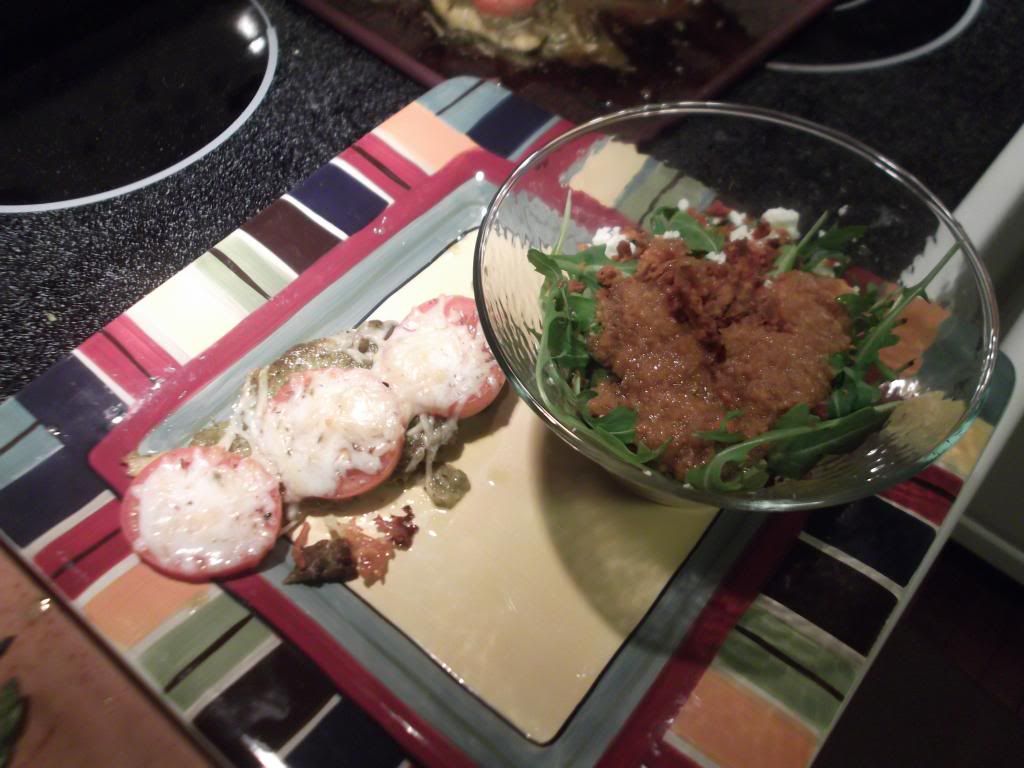
  11. Serve immediately.  Enjoy!  

Notes
  • Which tomatoes you use is very important so make sure that you get the right kind.  Regular vine ripened tomatoes are too juicy and you will have a runny pesto mess if you try to use those.  The roma tomatoes are a little bit firmer and great for dishes like this where you want clean slices.  Your local grocery store should have them.  
  • Make sure that the chicken cutlets are completely rinsed and dried before you layer the pesto over them.  If they are slimy the ingredients won't stick.  
  • There's no exact amount of Pesto that you should be using to cover the chicken.  It will depend on how big your chicken cutlets are.  I used about 2/3 of the container for these.  Just make sure that they are completely covered and you will be fine. 
 photo blog038-7_zps647ae192.jpg

If your spoon touches raw chicken and then goes back into the pesto jar,
your pesto could become contaminated with bacteria.  Be careful not to
eat that pesto unless it's been heated to at least 165 degrees.  
 photo blog040-4_zps57e6f786.jpg

 photo blog041-4_zpse17ec827.jpg

 photo blog042-5_zpsfff41bc5.jpg

 photo blog044-4_zps8aa48446.jpg

5/03/2013

Beef Jerky in the Dehydrator

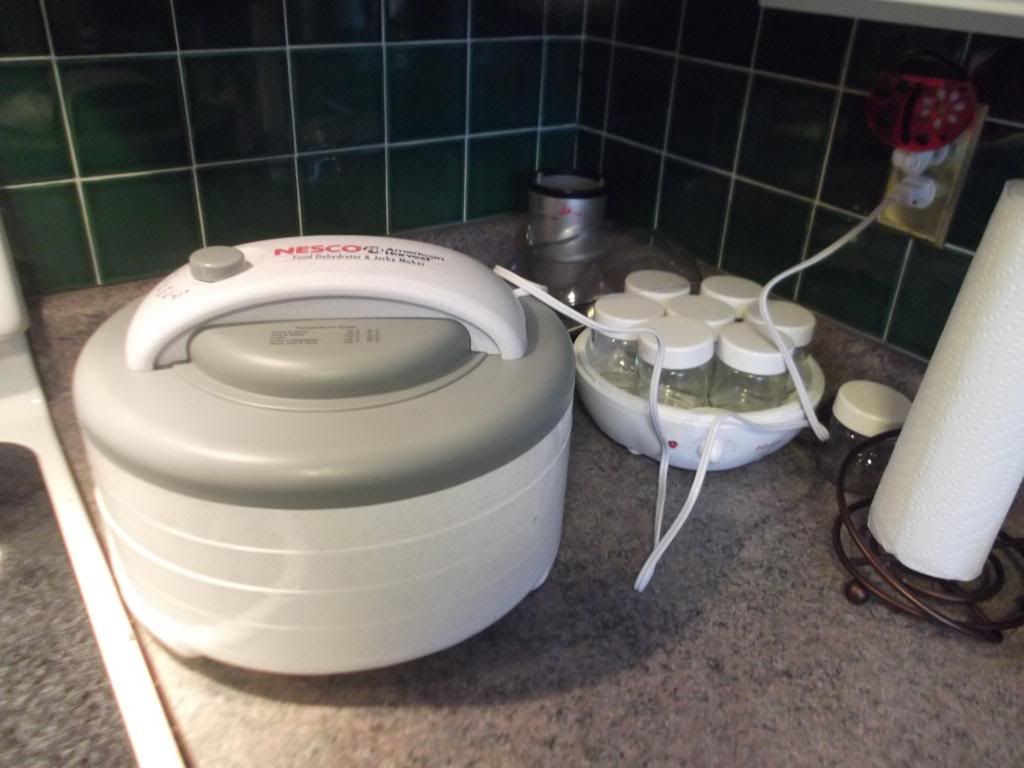
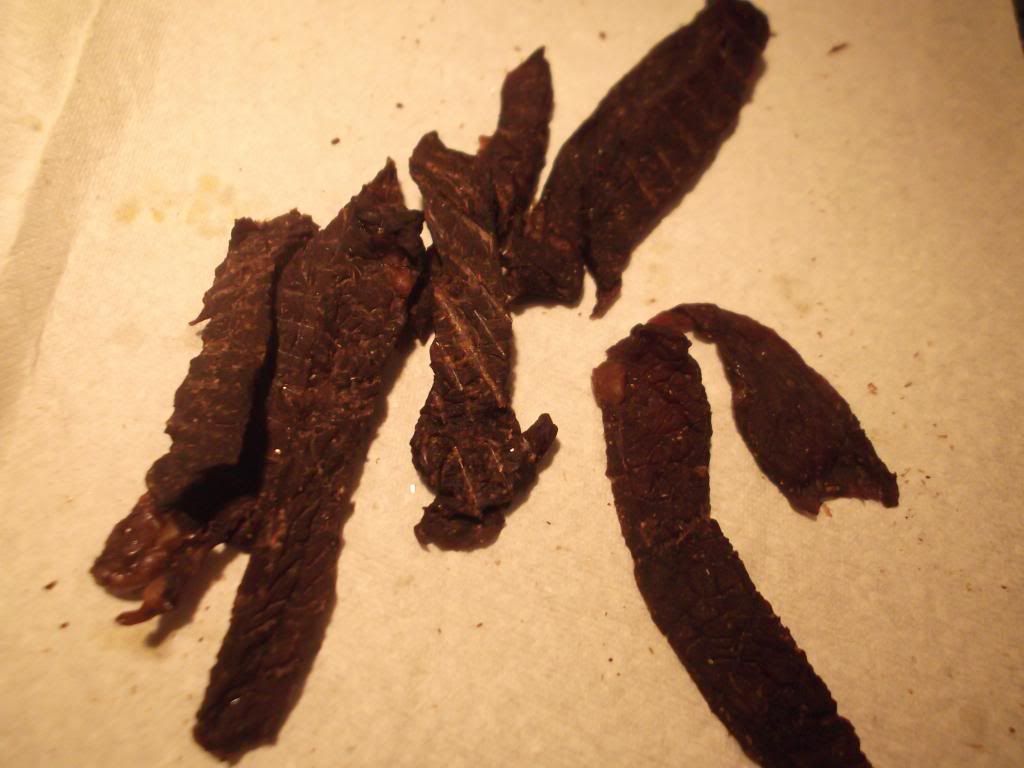
Remember how excited I was when my mom got me this awesome food dehydrator?  Well that does not even come close to how excited I am to tell you about the delicious beef jerky that came out of it.


The Nesco dehydrator came with a mini recipe book.  There are only about 20 recipes in there, so I'll need to purchase a more comprehensive book eventually, but we picked one to get started.  The beef jerky recipe in the Nesco book actually calls for some Nesco jerky seasoning that I didn't feel like ordering, so the jerky that we made is close to the original recipe but not exact.  

Ingredients
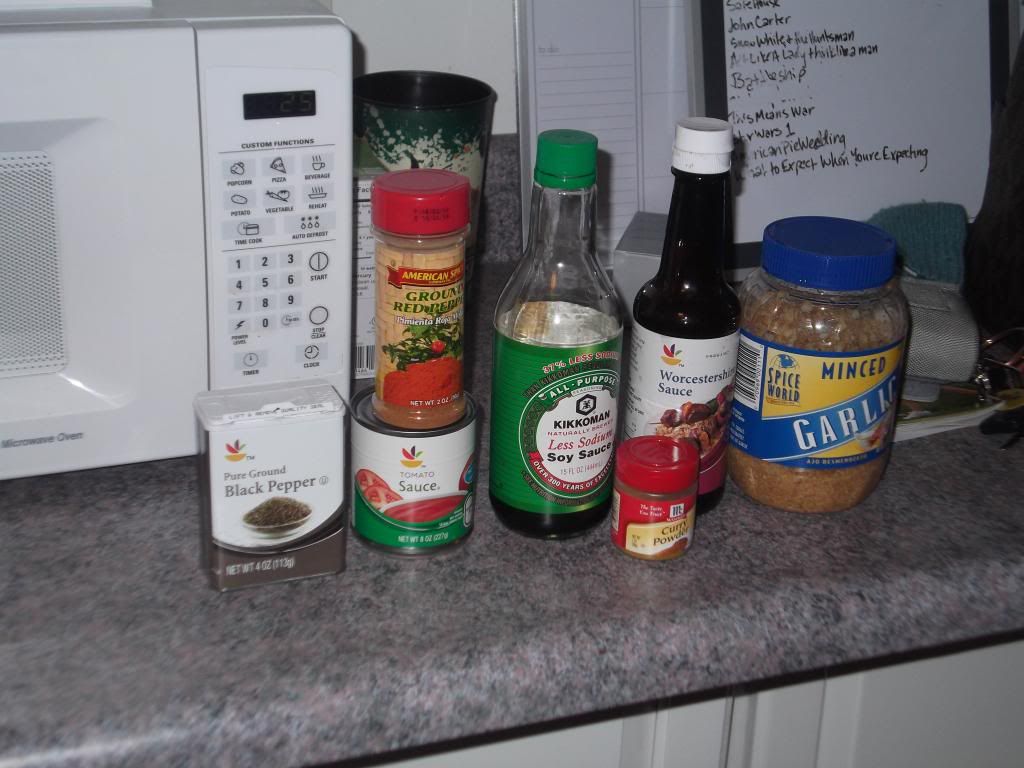
4 Tbsp soy sauce
4 Tbsp Worcestershire sauce
1 Tbsp tomato sauce
1 Tbsp ground ginger
1 tsp black pepper
1 Tbsp curry powder
2 Tbsp minced garlic
2 Tbsp kosher salt
1 tsp cayenne pepper
1 lb steak

Directions
  1. Cut steak into strips.  Strips should be 1/2 inch wide and 3-6 inches long.  
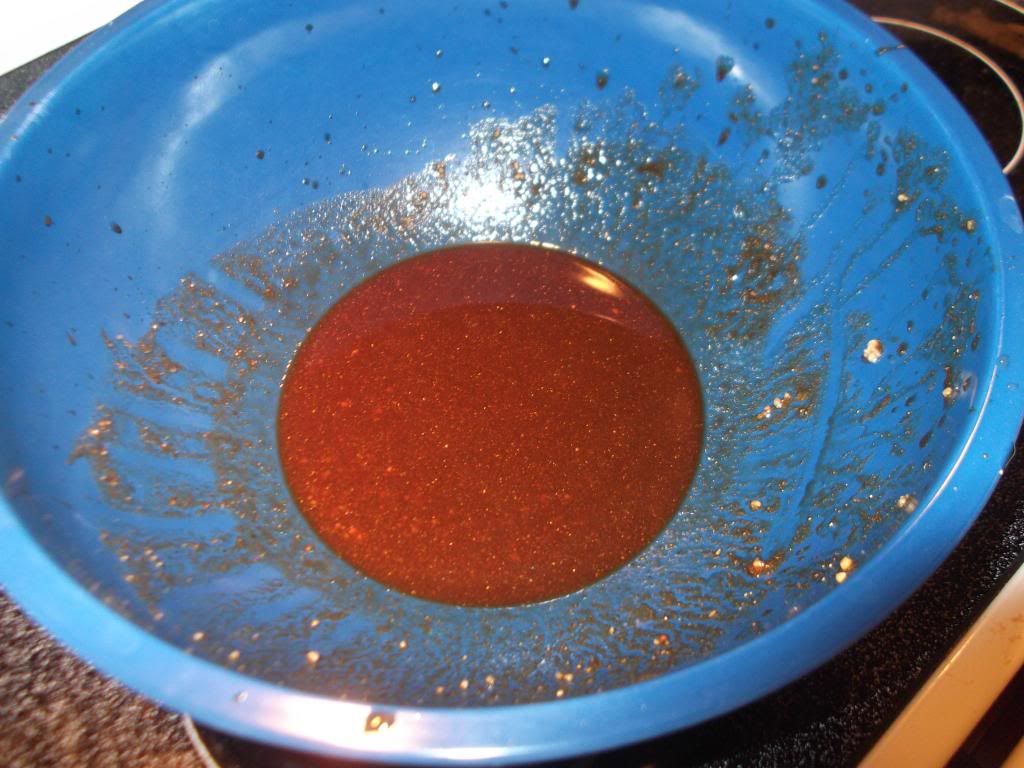
  2. Combine all remaining ingredients in a large bowl.  
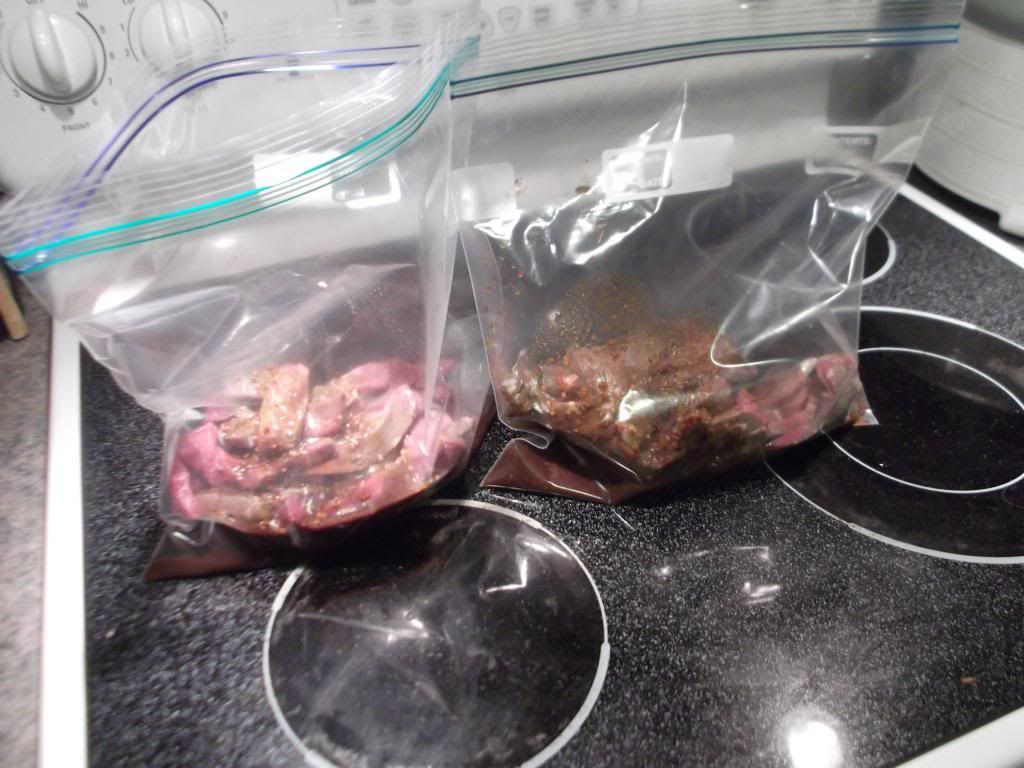
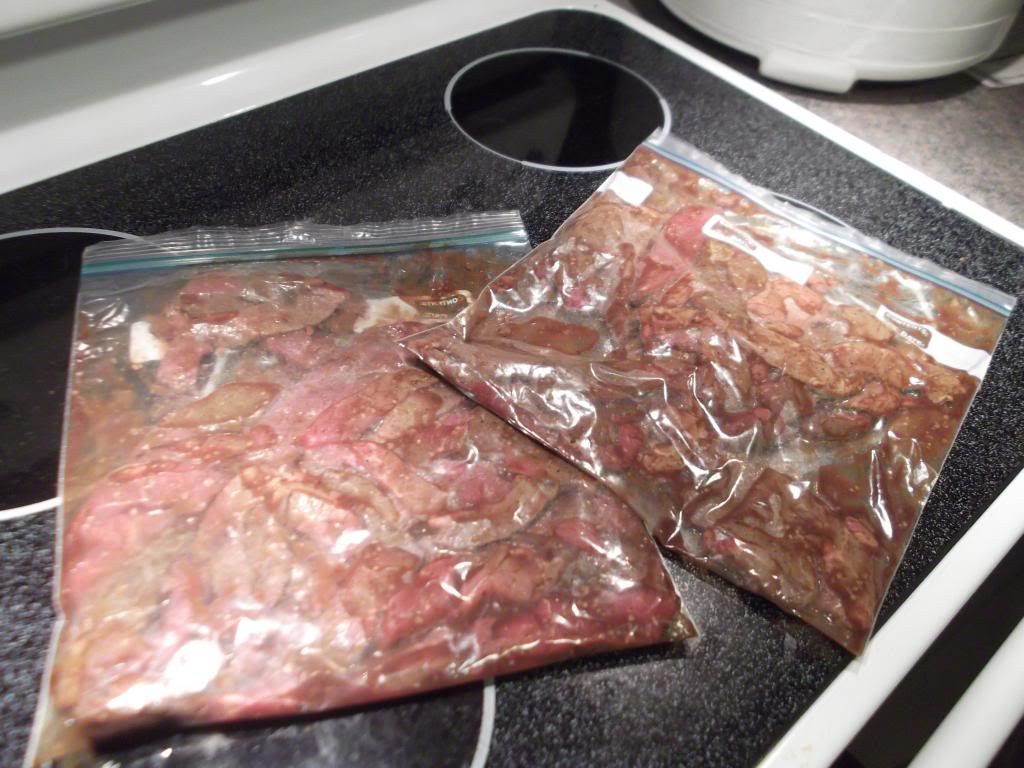
  3. Add marinade mixture and steak strips to a gallon Ziploc bag.  Steak should rest in marinade, in refrigerator, for 12-24 hours.  
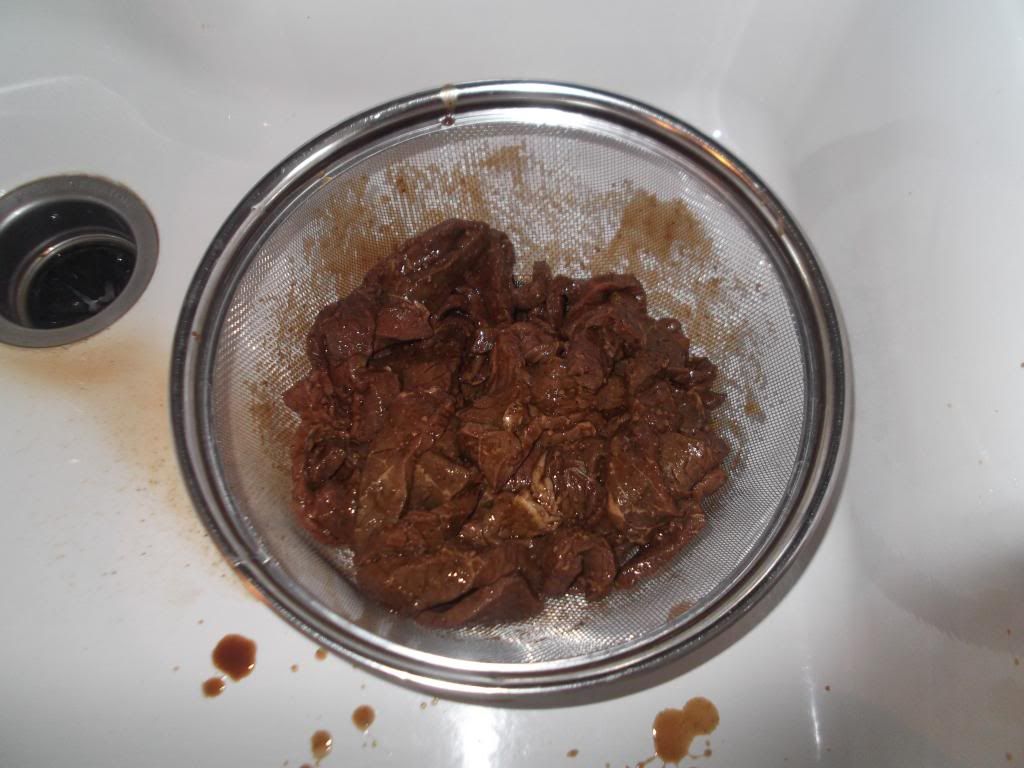
  4. Dump entire contents of Ziploc bag into a colander over the sink.  Do not rinse.  Allow steak to drain for 5 minutes.  
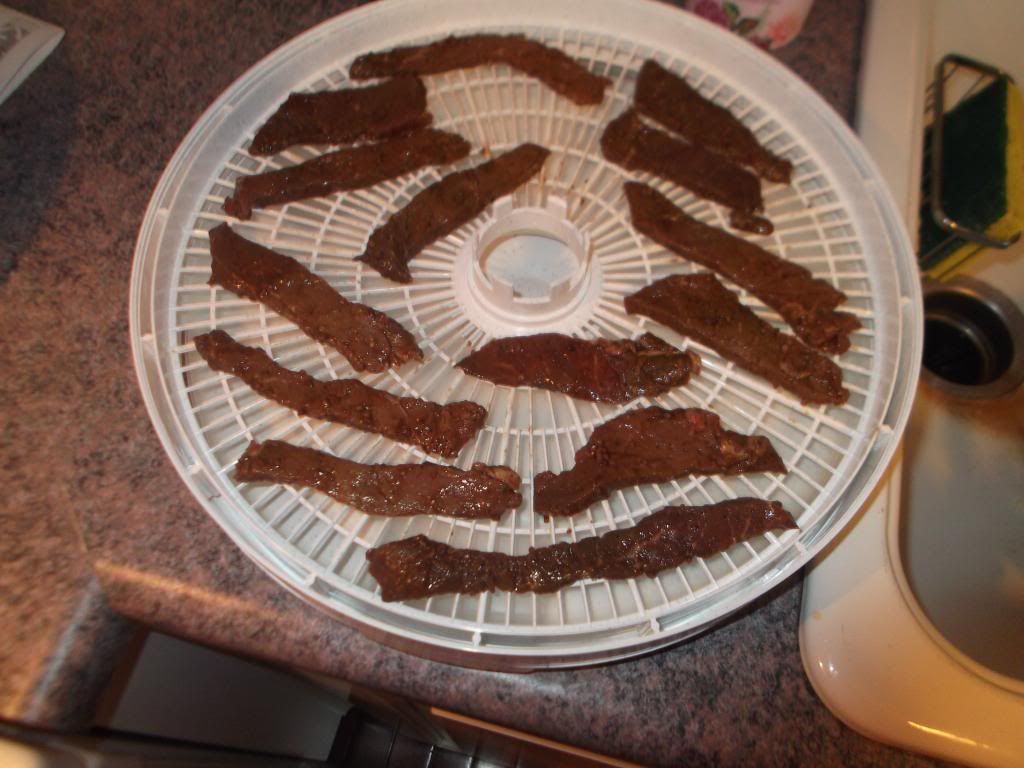
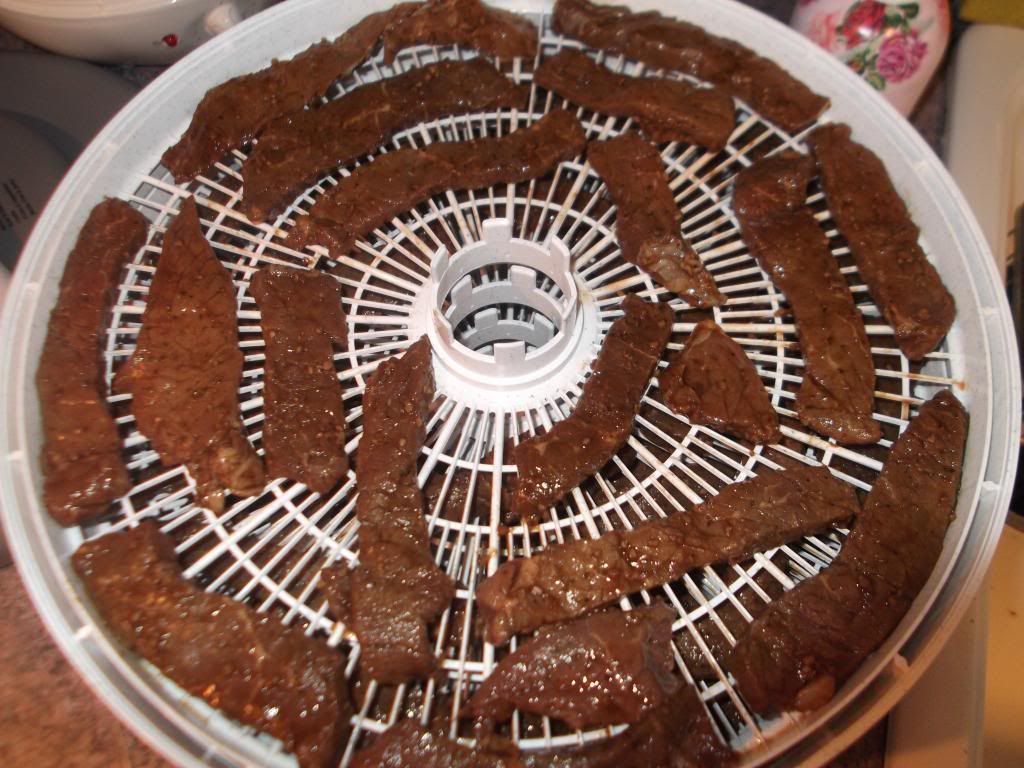
  5. Lay steak strips on dehydrator trays.  Strips should be close together, but not overlapping.  
  6. Set dehydrator to 160 degrees and dry for 4-8 hours.  Rotate trays every 1-2 hours.  
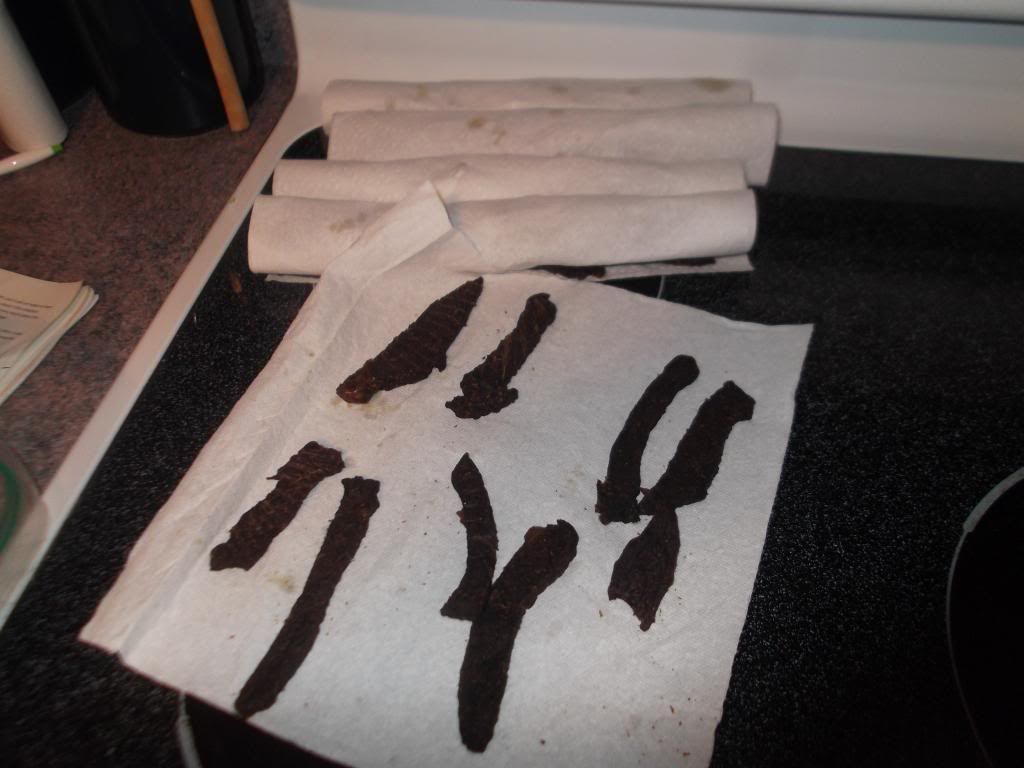
  7. Once meat has dried completely, remove from dehydrator and lay on paper towels.  Press to remove any remaining grease or fat.  
  8. Beef jerky will be good for 2-4 weeks at home.  Store in an airtight container in a cool, dry place.  

Notes
  • Beef jerky is so versatile.  I have to keep an eye on the awesome boyfriend because he likes to experiment by dumping weird things into the marinade, especially spicy ones like Sriracha and chili powder.  The end results have varied in levels of deliciousness, but all have been tasty.  
  • My dehydrator will hold 2-3 pounds of steak strips, depending on how thin I cut them.  I just double or triple the marinade recipe accordingly.  
  • About 1 pound of steak strips is a good amount for a gallon Ziploc bag.  If you have two pounds of meat, add half the marinade and half the steak to two separate bags.  If you've got too much steak jammed into one bag, the strips will not coat evenly.  
  • Any cut of steak will work, but cutting it thin enough to dry can be a hassle.  I've had the best results with skirt steaks or flank steaks.  I tried a top round one time and it was good, but it took forever to dry because the meat was too thick.  You might be able to get your butcher to thin slice your steak for you, especially if you are at a more high end grocery store.  
  • Drying the meat is something of an inexact science.  The drying time will vary based on how thick and dense your slices are.  Don't let them get too crispy in there, but wait until they feel completely dry to remove them.  
  • Click here for some tips from the USDA on safely drying beef at home.  
Start with steaks that are already thinly sliced.  If your grocery store has
steaks labeled as 'fajita steak' or 'stir fry steak' that is perfect.
A little bit goes a long way.  
I've had the best results so far when I put the steak into the marinade after
work on Friday and then into the dehydrator on Saturday morning.  Then I
can be home all day to keep checking for doneness.  
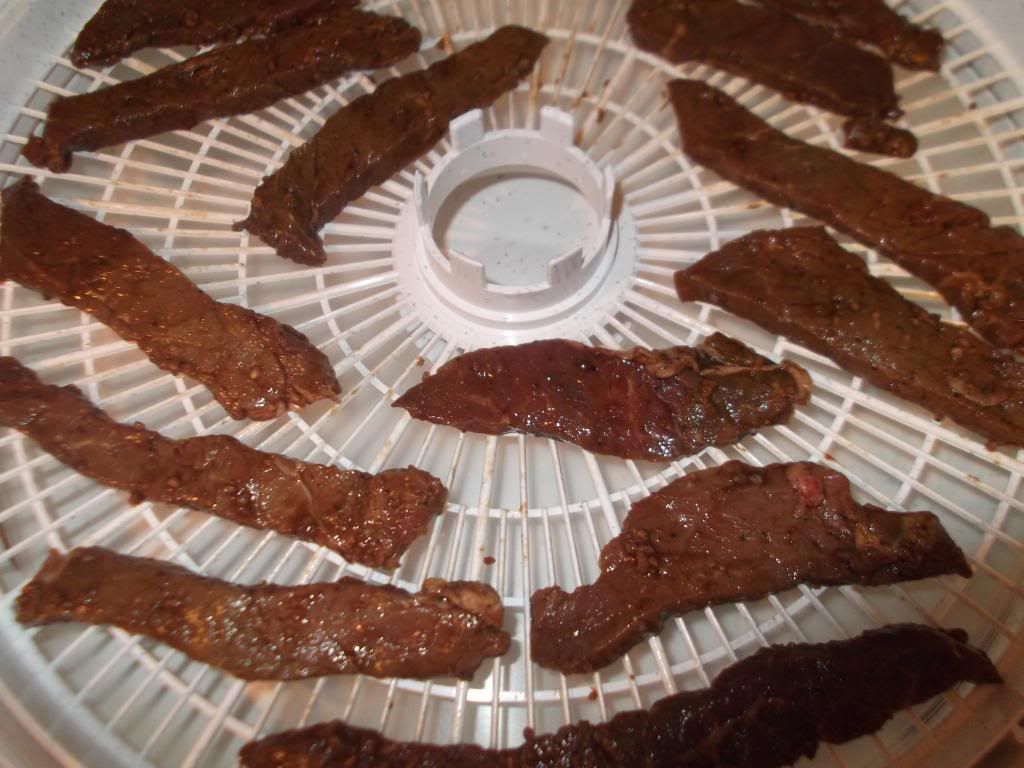
Make sure to let the steak drain because you don't want the marinade
dripping all over your dehydrator.  It's okay if the strips are a little wet,
but you don't want them to be drippy.  
My kitchen is getting full of gadgets.  I'm going to have to do a
clean and purge soon.  
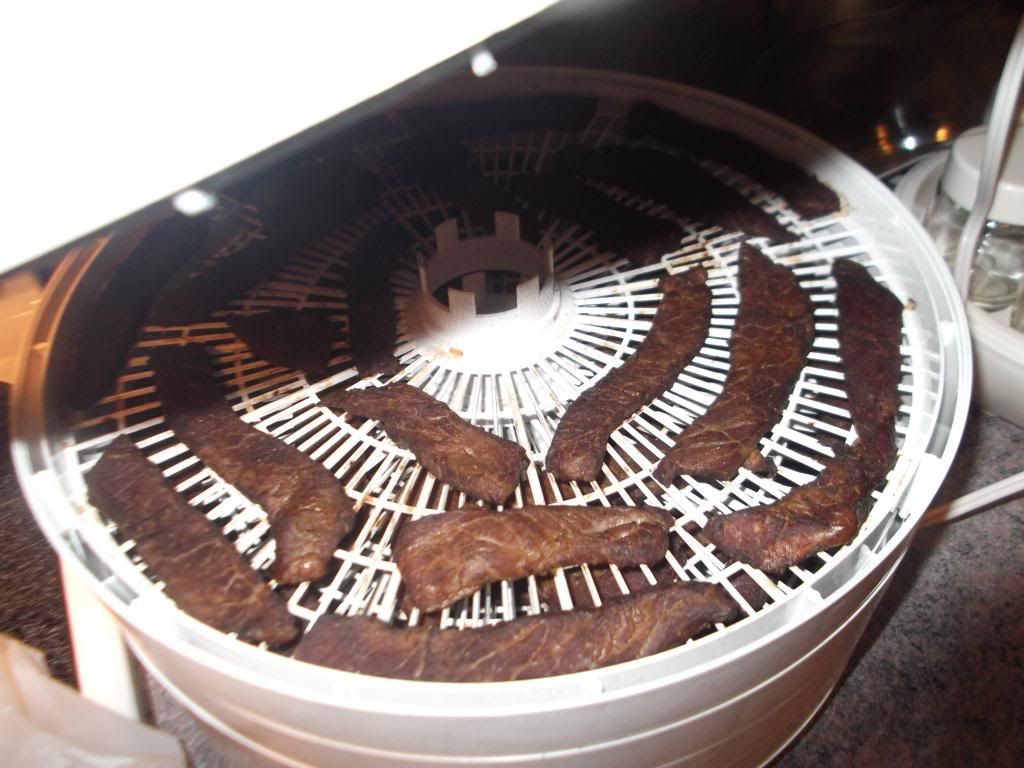
Peeking.  Not quite ready.  
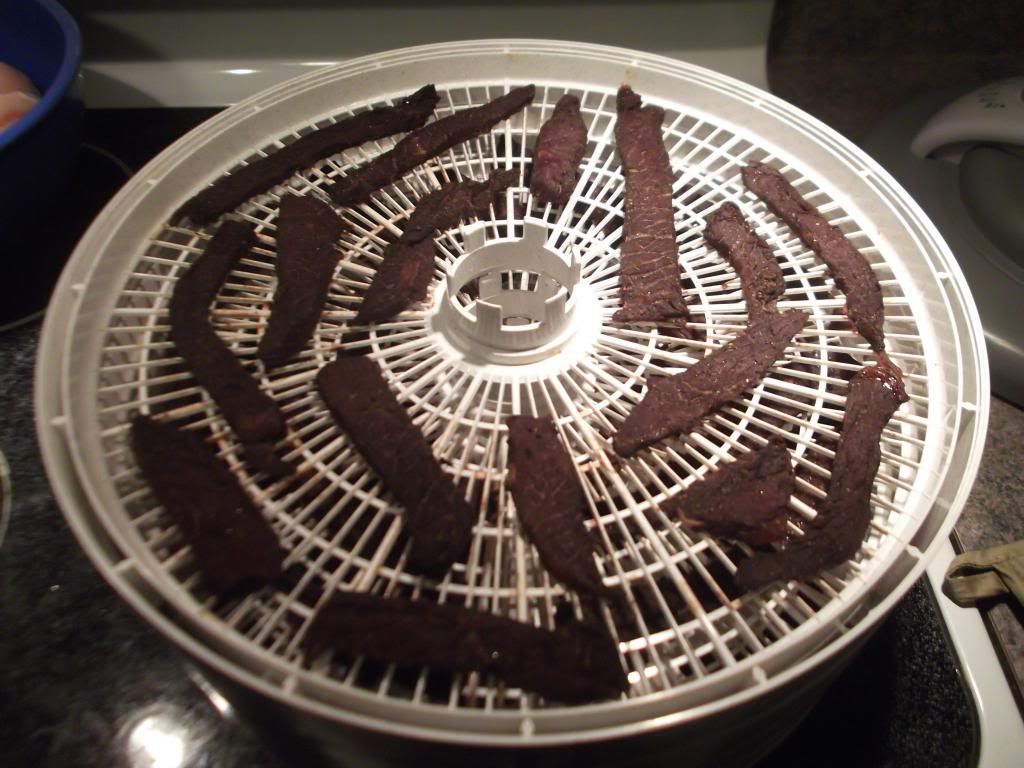
You can see that the strips are a little bit dryer and smaller here than above.
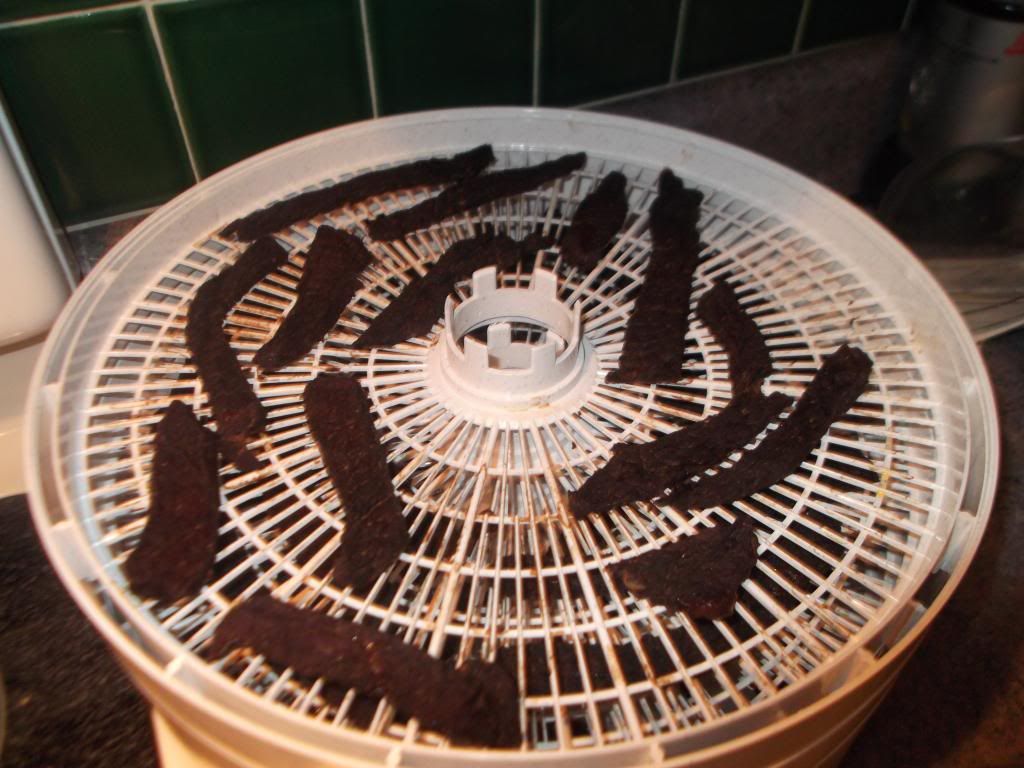
Perfect.  When the beef strips are small and dark like this they are done.
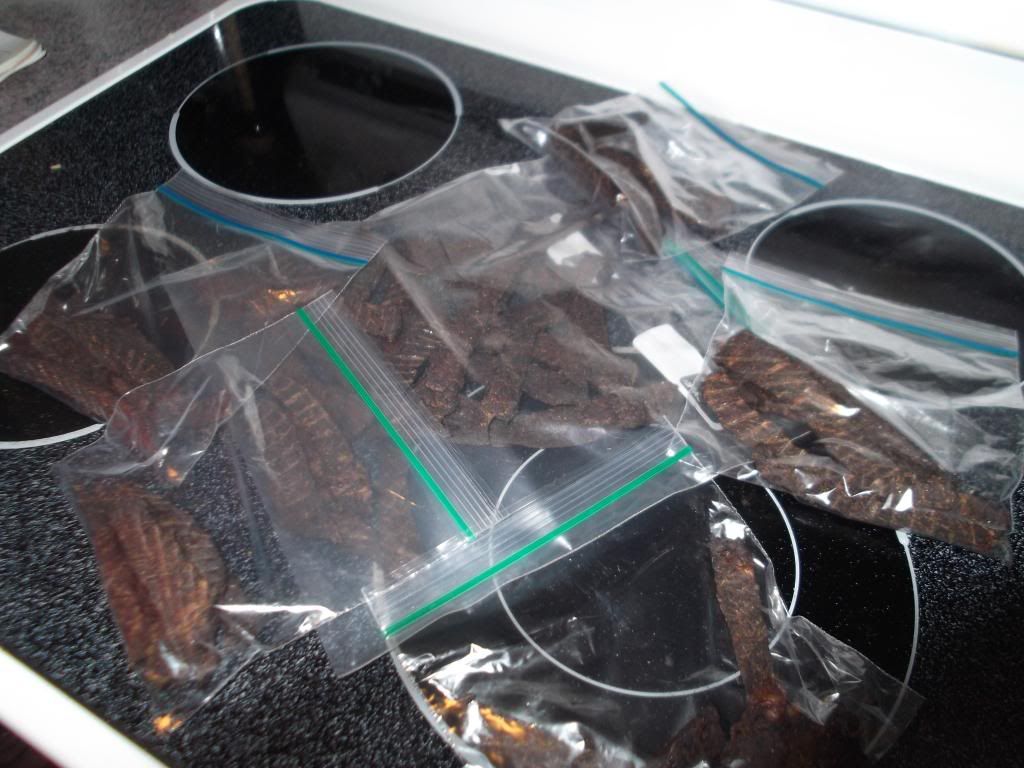
The awesome boyfriend is a nerd.  He bagged his half into portions.
(Seriously though, portion control is good.)


5/02/2013

Steak dinner.

One of my favorite things about a low carb diet is steak.  I spent years avoiding red meat because of a fear of fat, and I have been happy to welcome it back into my lower carb life.  It's still important to try to eat beef that is grass fed and free of hormones and antibiotics, but an organic steak for dinner is a tasty part of a low carb plan.


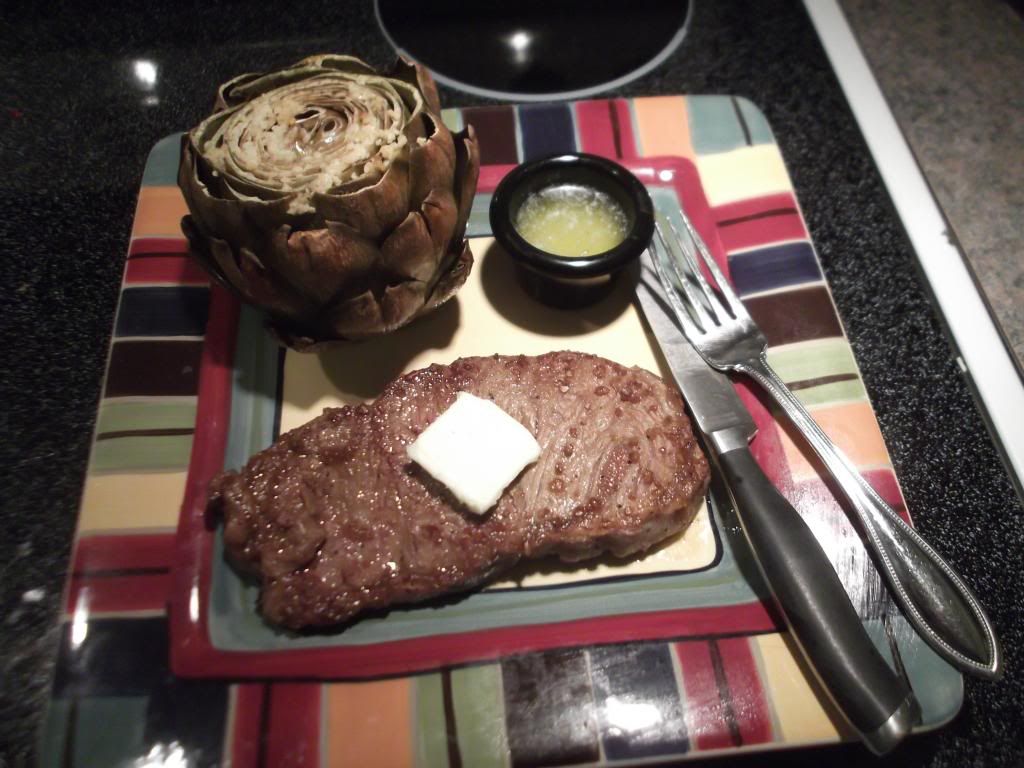
This is a New York strip steak that spent a couple of hours in my famous not-so-secret recipe marinade.  I pan fried it in some cooking spray and topped it with a sliver of butter.  I ended up splitting it with the awesome boyfriend because I decided it was too much food for one person.  

I served the steak alongside a Garlic Roasted Artichoke, one of my most favorite side dishes.  You can see in the picture that I had run out of garlic cloves so I just smeared some minced garlic over the top of the artichoke.  I prefer the whole garlic, but this was fine in a pinch.