Now I know that it takes 6-8 hours to cook a roast and it was already about noon. I decided that I needed to go ahead and get this roast in the crock pot if we were going to eat it, and we needed to eat it because at this point it had been in the fridge since Thursday.
I looked around in the pantry and came up with a few ingredients that I hoped would be lovely but wasn't sure about. This recipe has been dubbed Miracle Pot Roast because all of the odds and ends in my kitchen actually turned out a very tasty dish. It's a miracle that I didn't poison the awesome boyfriend and myself that day, and I now I'm sharing some of that magic with you.
Ingredients
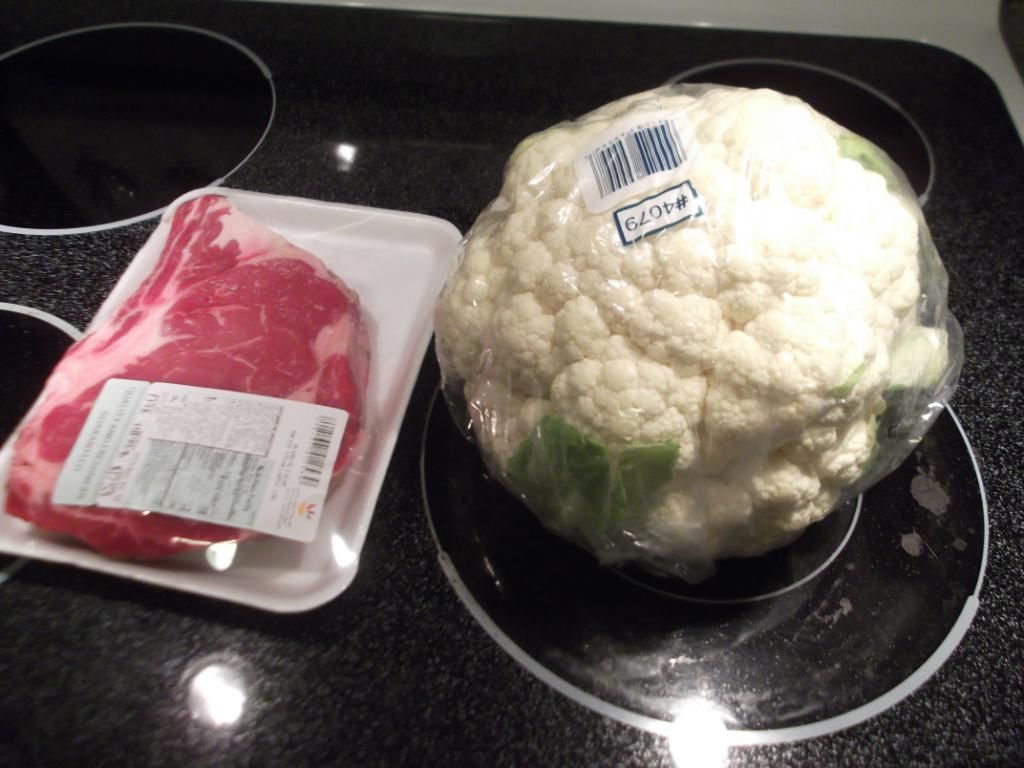
3 lb pot roast
2 C red wine
1 packet dry vegetable soup mix
4 Tbsp Worcestershire sauce
1 tsp black pepper
1/2 of 1 bag baby carrots
1 medium sized yellow onion
4 celery sticks
Directions
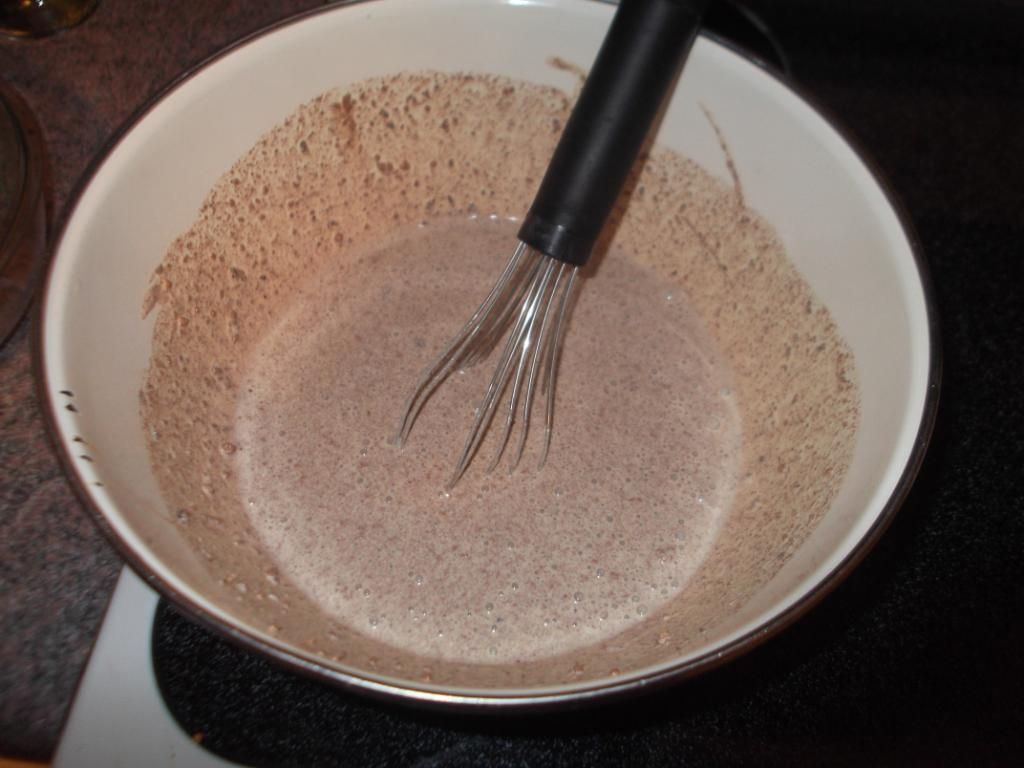
- Add red wine, vegetable soup mix, Worcestershire sauce, and black pepper to crock pot.
- Stir briskly with a whisk until all ingredients are incorporated.
- Put roast in crock pot, on top of liquid.
- Add baby carrots around outside of roast.
- Chop onions and celery into bite size pieces and add to crock pot on top of roast.
- Cook for 6 hours on low.
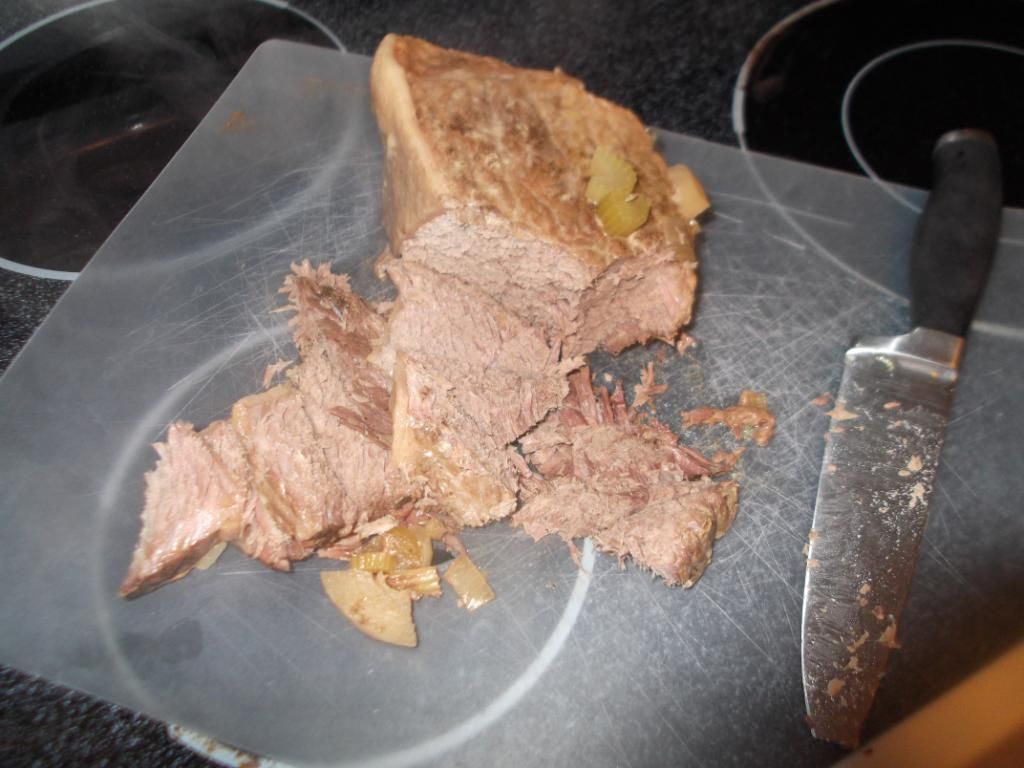
- Slice roast with a sharp knife. Serve slices topped with remaining juices from crock pot.
- Serve with vegetables from crock pot. Enjoy!
Notes
- I am beginning to believe that you can dump almost anything into a crock pot with a hunk of meat and it will turn out delicious.
- I wanted to use dry onion soup mix for this recipe but we didn't have any. The vegetable soup mix was actually a delicious compliment to the half a bottle red wine that I found in my fridge and dumped into this recipe.
- Thursday- Sunday is actually not that long for a piece of red meat to sit in the fridge. It just seemed like a long time when I opened the meat drawer and realized I had forgotten that there was a pot roast in there.
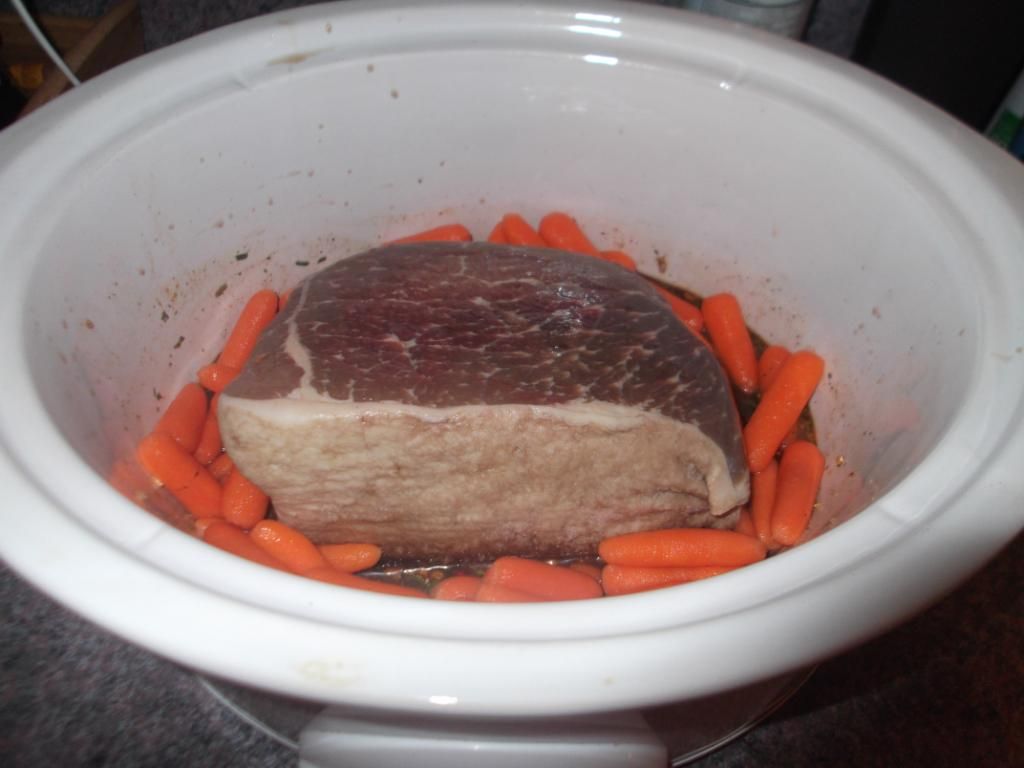 |
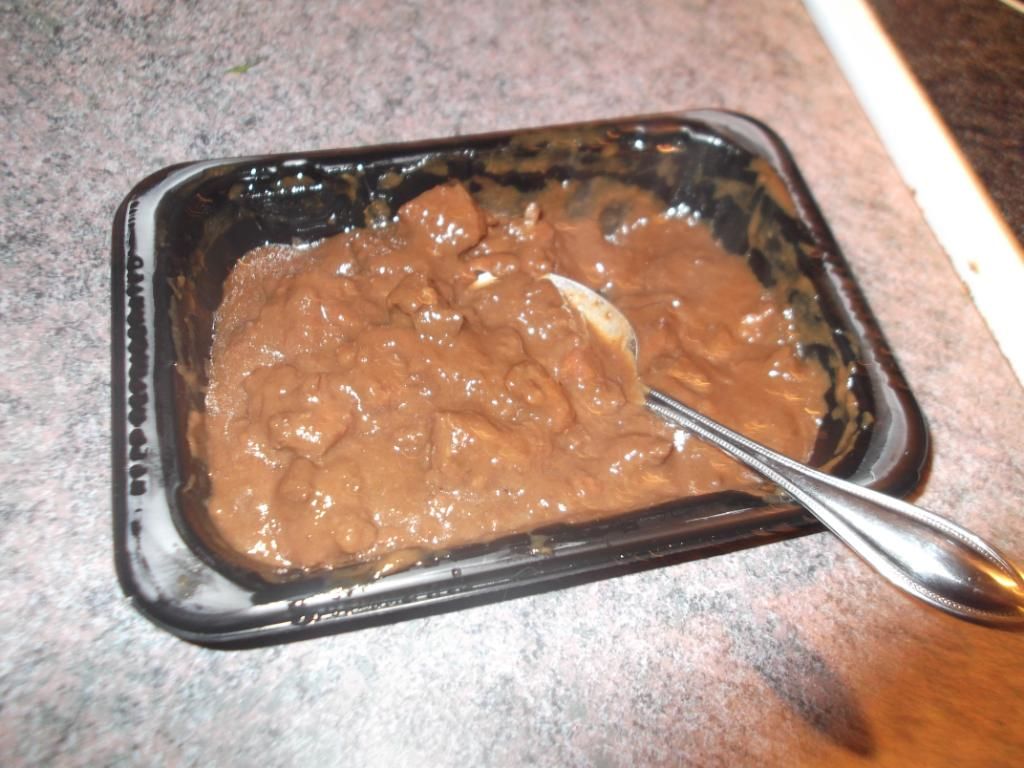
| The celery and onions are a little bit more delicate than the carrots, which is why they go on top. The carrots will cook better partially submerged in the liquid mixture. |
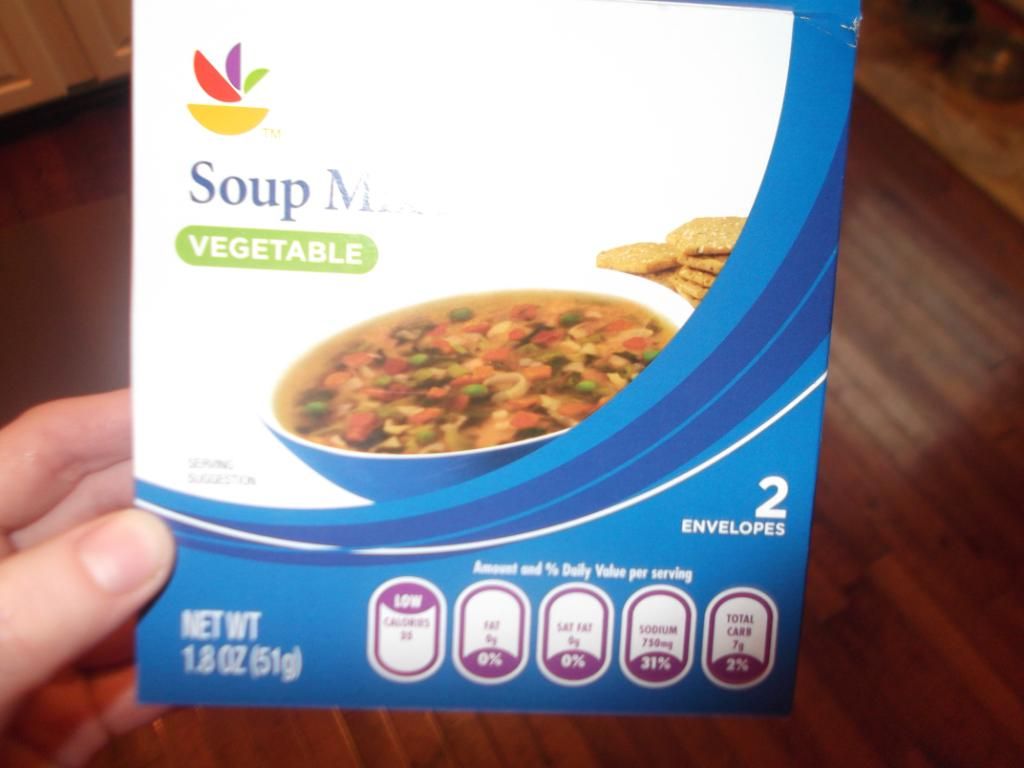 |
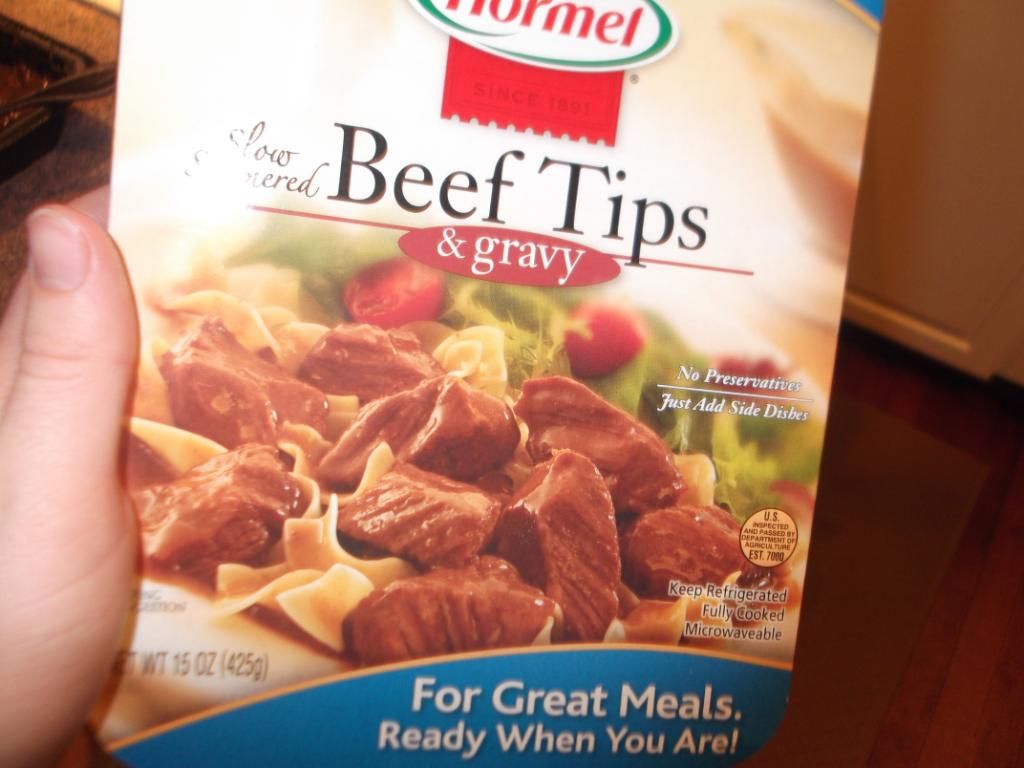
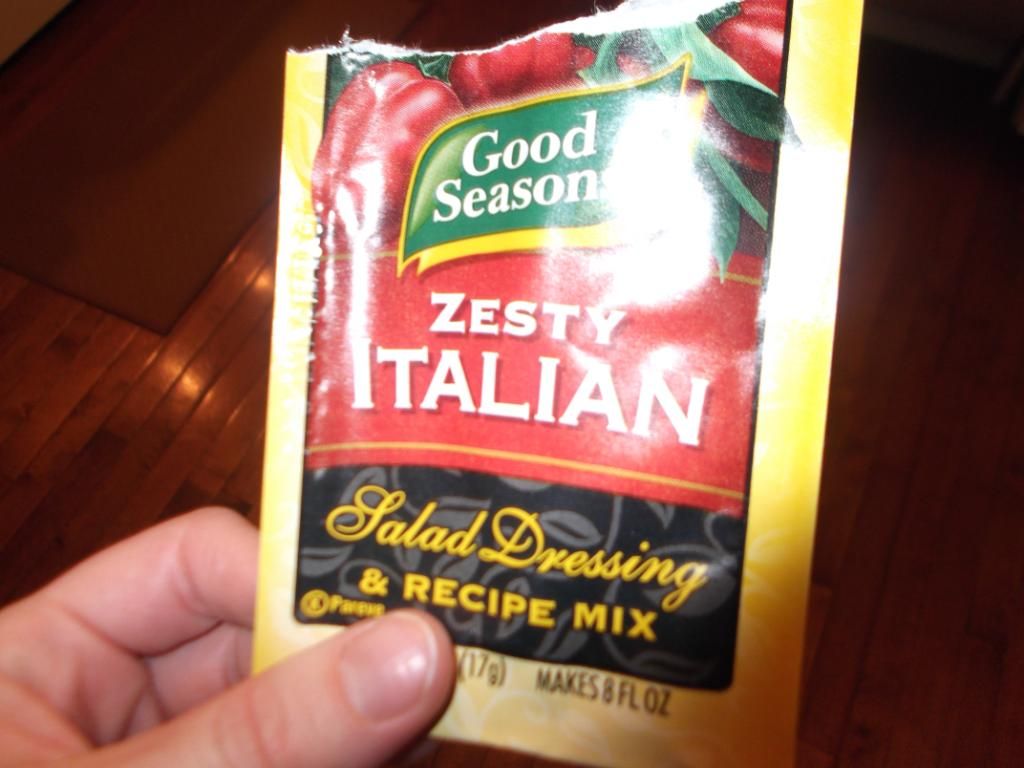
| I always keep this stuff on hand. I cannot tell you how many times I've ended up adding it to something for a little extra flavor. You can find it in your grocery store near the canned soup. |
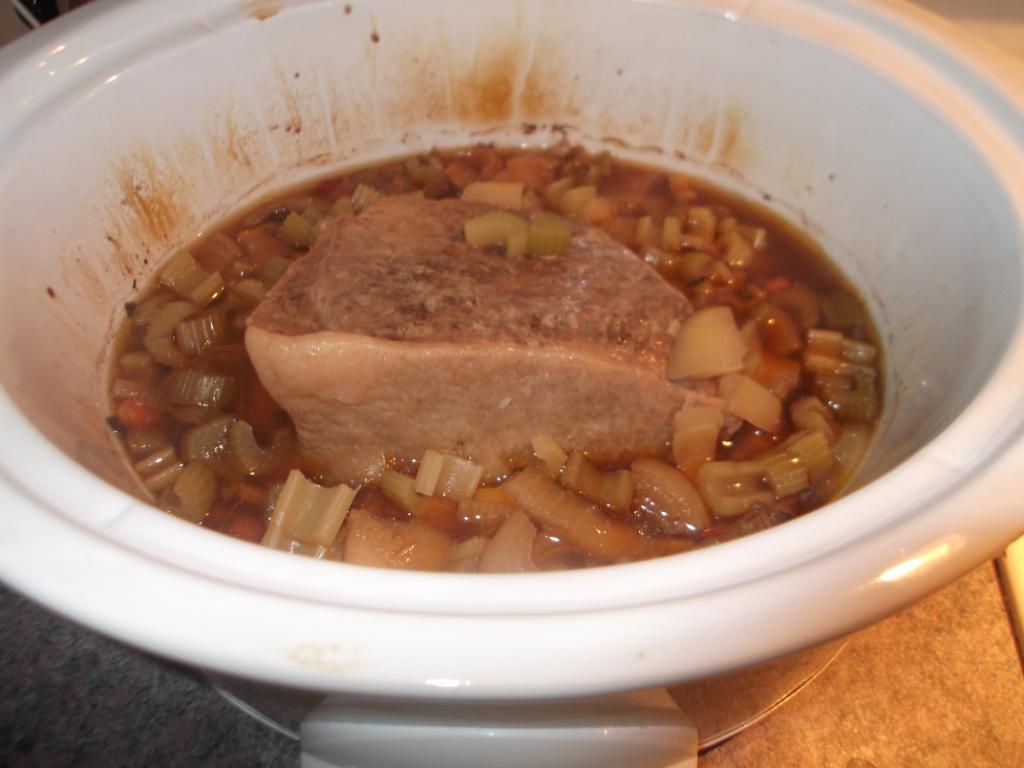 |
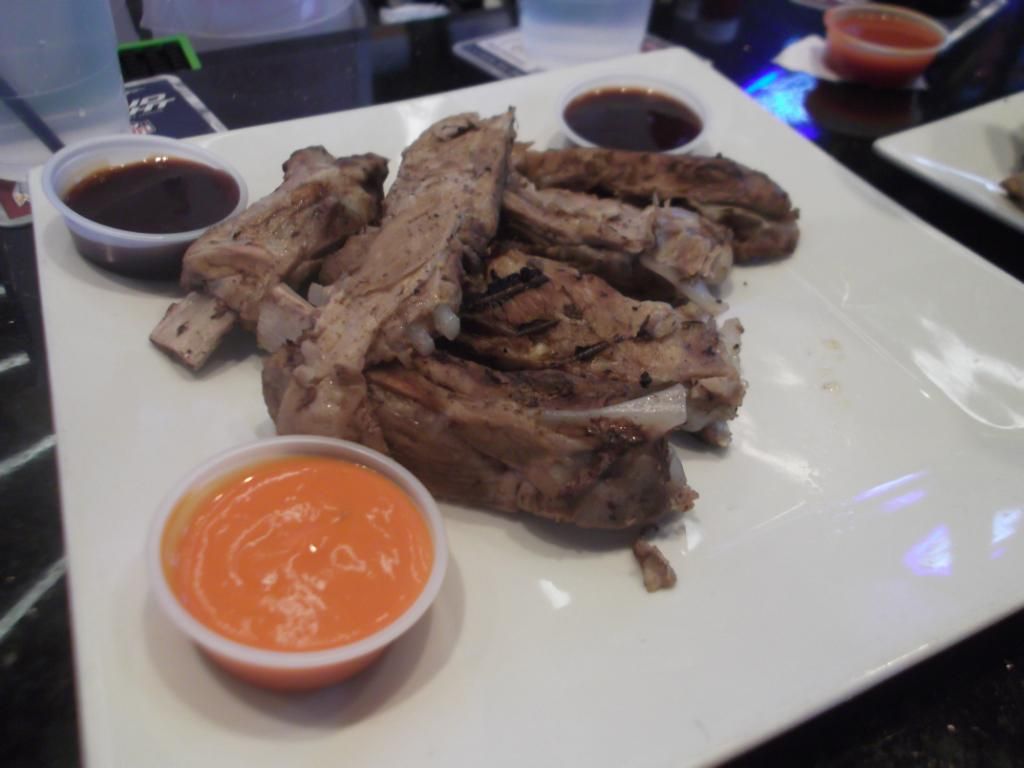
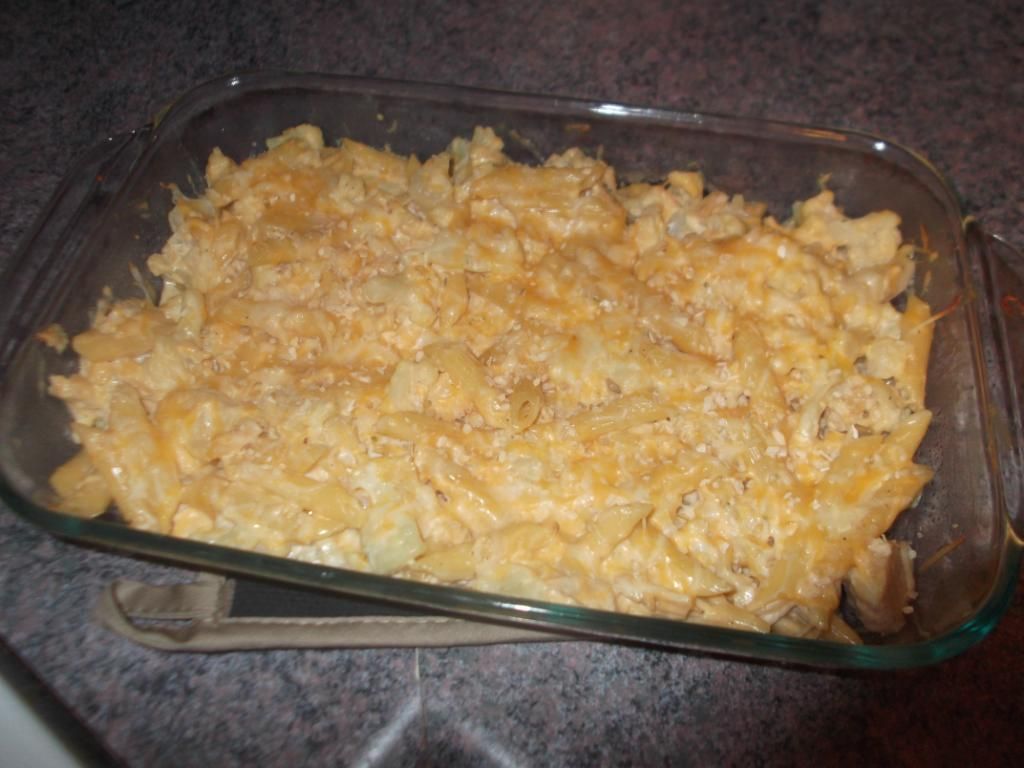
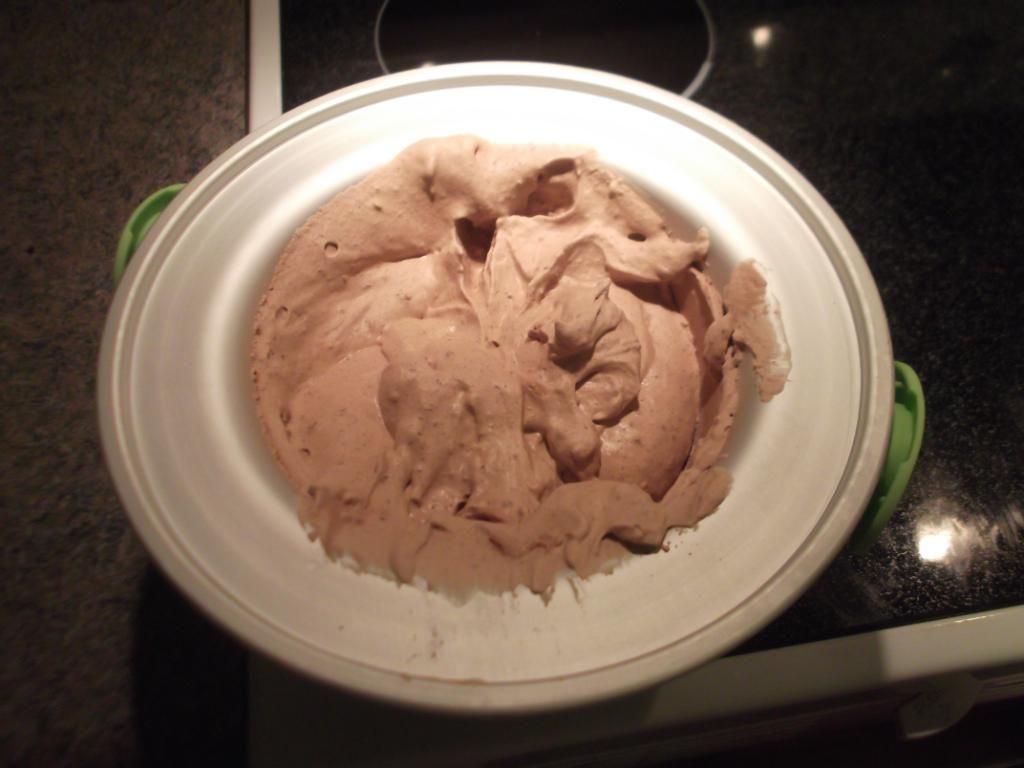
| So good. It's also a miracle that this recipe was finished on the first try. Normally I have to subject the awesome boyfriend to multiple taste tests before I'm ready to publish something. |
 |
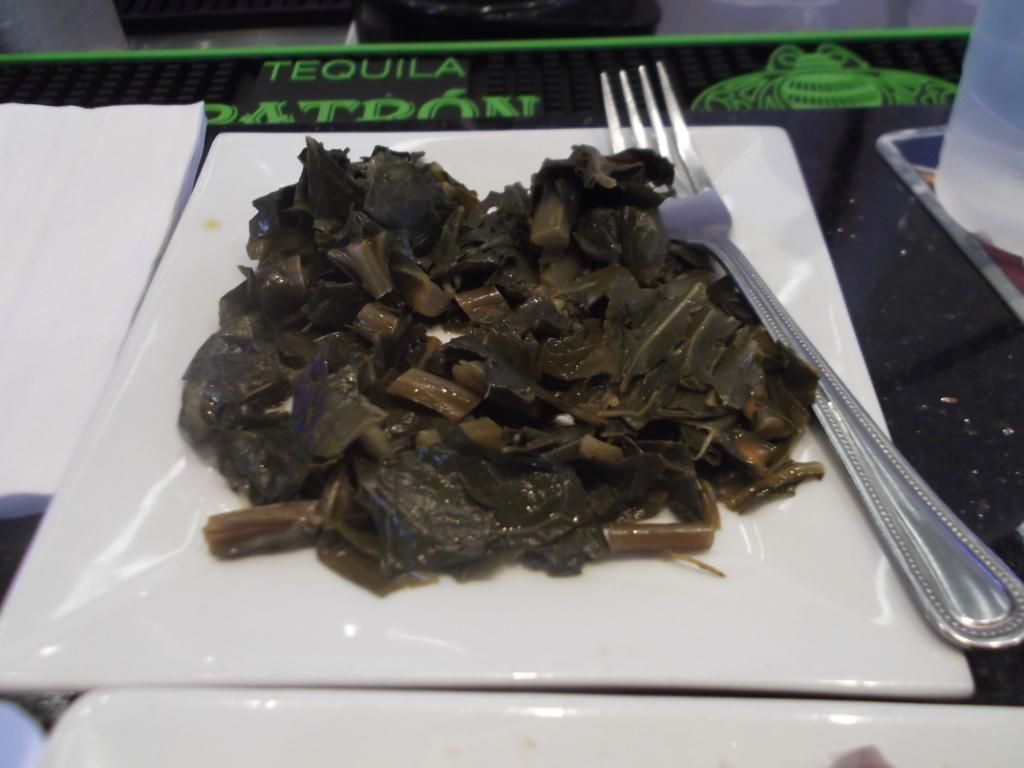
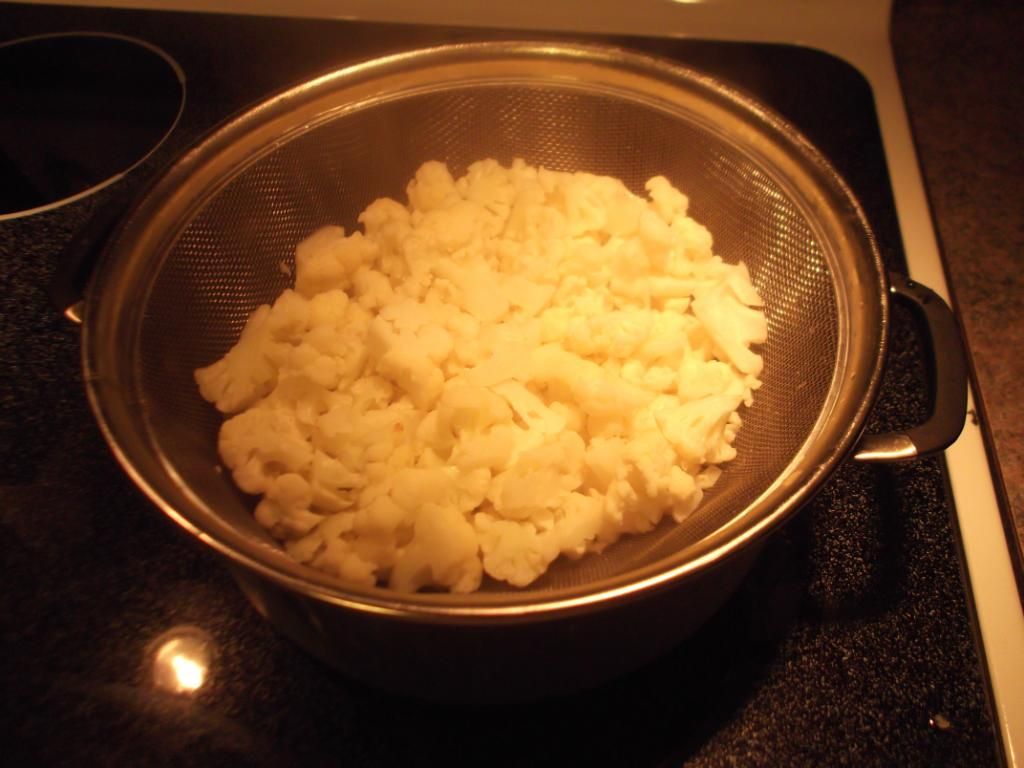
| The veggies are good even without the meat. I took them to work and ate them as a side dish after we had finished all the beef. |