Ingredients
1 bunch of asparagus (about 20 stalks)
4 pieces of bacon
3 Tbsp olive oil
1 Tbsp sesame oil
1 Tbsp Splenda
2 Tbsp minced garlic
handful of sesame seeds
Directions
- Preheat oven to 375 degrees.
- To prepare asparagus for roasting, break off woody portion at the bottom. If you don't know what I'm talking about, check out the instructional video I posted with this asparagus recipe.
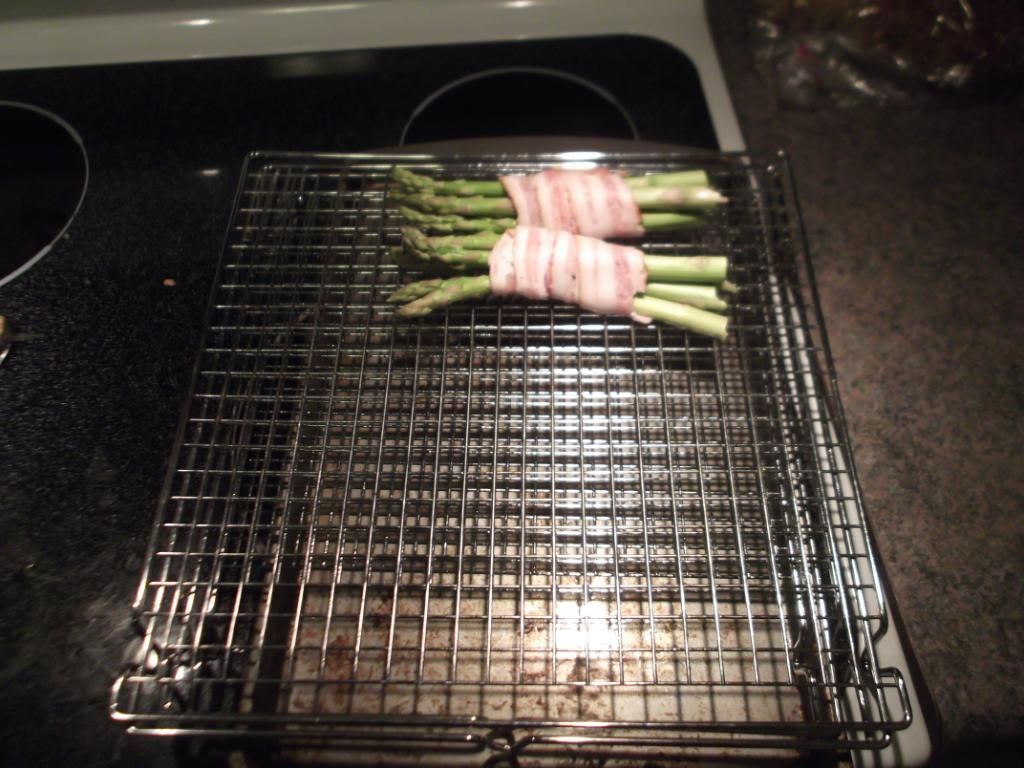
- Place a wire baking rack on top of a baking sheet.
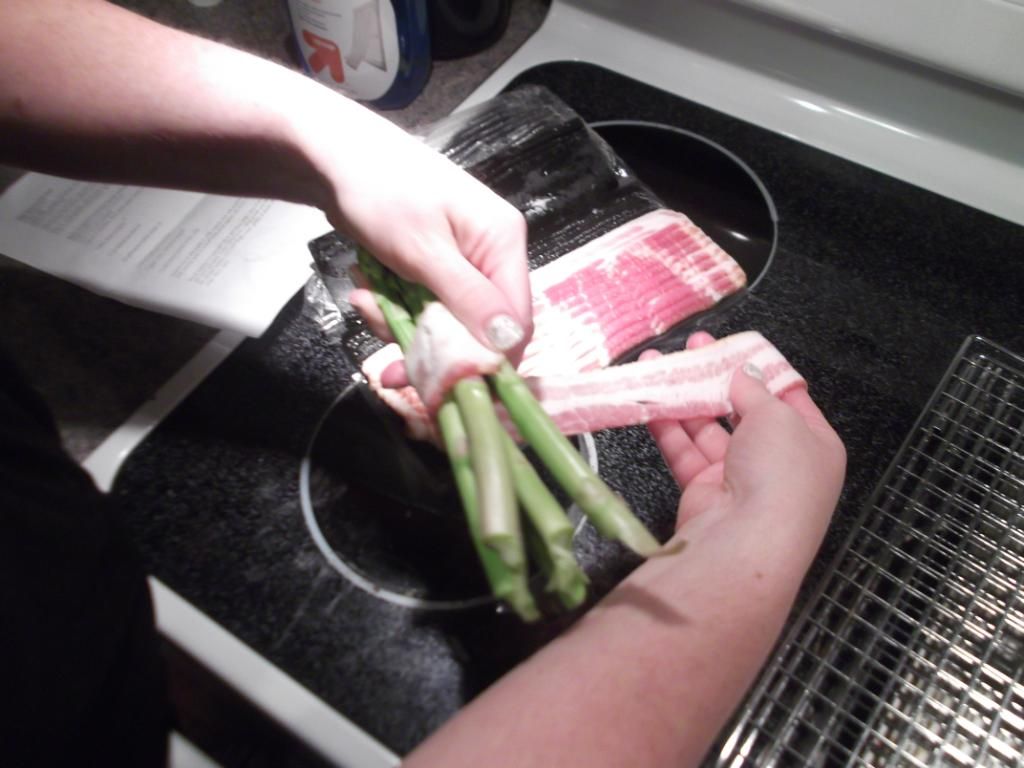
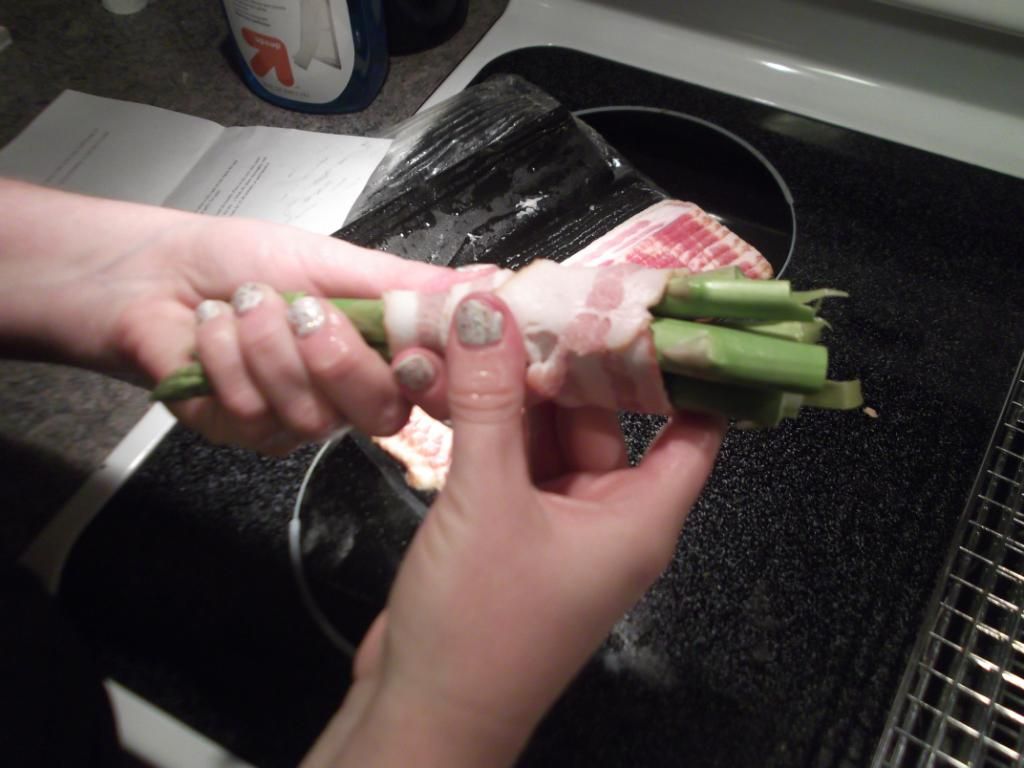
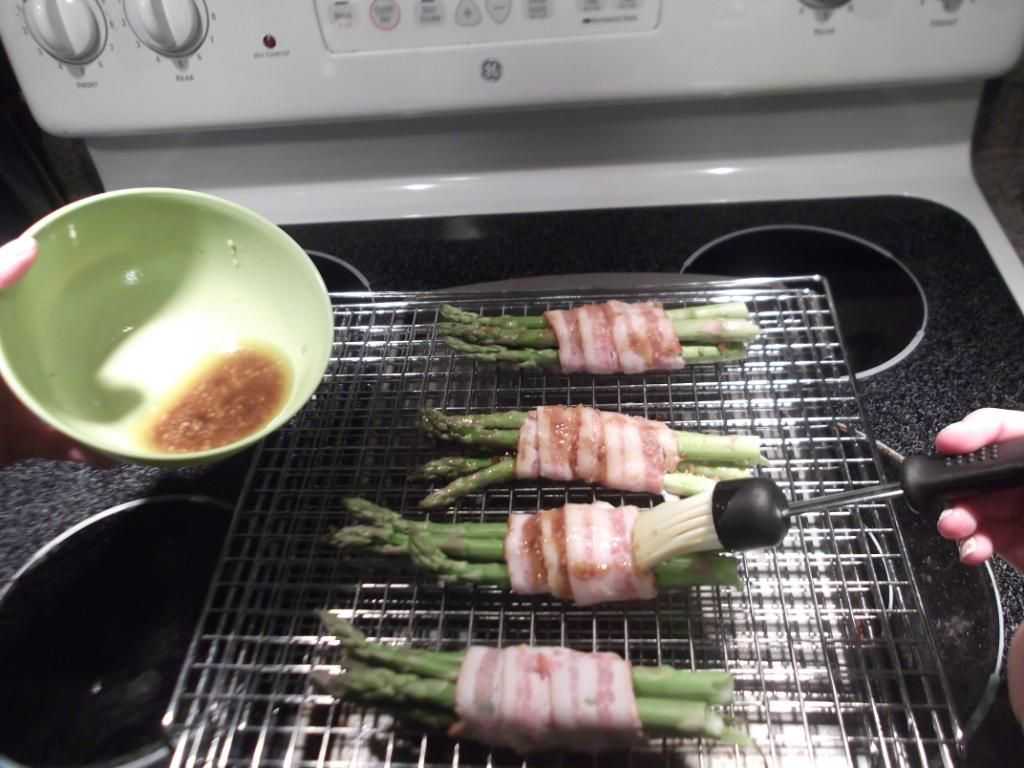
- Group asparagus into bunches of 5 or 6 stalks. Wrap each group with a strip of bacon and place on top of wire baking rack.
- In a small bowl, mix olive oil, sesame oil, garlic, and Splenda with a fork or whisk.
- Brush the oil mixture onto each asparagus bunch with a basting brush.
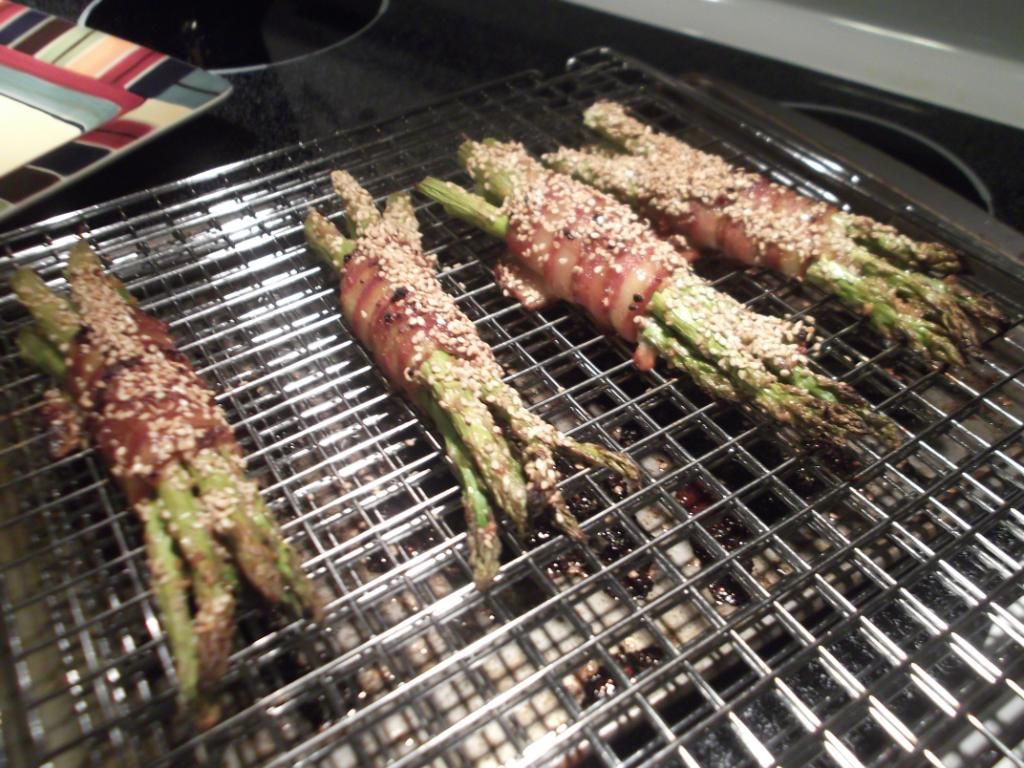
- Sprinkle each bunch with sesame seeds.
- Bake for 35-40 minutes, or until bacon turns dark and appears crispy.
- Serve hot. Enjoy!
Notes:
- If you want this to be a finger food you can wrap smaller asparagus bunches (1 or 2 stalks) with the bacon and people will be able to pick up and eat.
- I used maple bacon because it has a sweeter flavor that goes great with the oil topping.
- You should probably line the baking sheet with foil because the bacon makes big burn marks, but I was too lazy so I had to soak and scrub mine.
- Please don't judge me because my nails look raggedy in these pictures. I took my acrylic tips off several weeks ago and I'm now growing my natural nails back out. It sucks but will be better soon.
No comments:
Post a Comment